As mentioned in my last update, uni has kept me busy so I’ve not been able to do much hobby stuff. Matthew was around last Sunday however for another game of Bolt Action.
Matthew was keen to use his new Australian force, which gave me the opportunity to field my Germans for a change.
Disposition of Forces
I fielded a single reinforced platoon consisting of:
- An Oberleutnant (1st Lieutenant) and one staff;
- Medic with one staff;
- Three 10 man Heer squads each with an SMG armed NCO and an LMG;
- Eight man Heer Pioneer squad with a flamethrower;
- Hanomag half-track;
- Sdkfz 222 armoured car; and
- Panzer III J (“Skypanzer”).
Matthew’s forces consisted of:
- A 1st Lieutenant;
- An artillery forward observer;
- Two 10 man infantry sections with LMG;
- 10 man commando squad with five SMGs and an LMG;
- An MMG team;
- A medium mortar;
- A sniper team;
- A PIAT team;
- A light howitzer; and
- A Matilda (“Sheila”).
Order of Battle
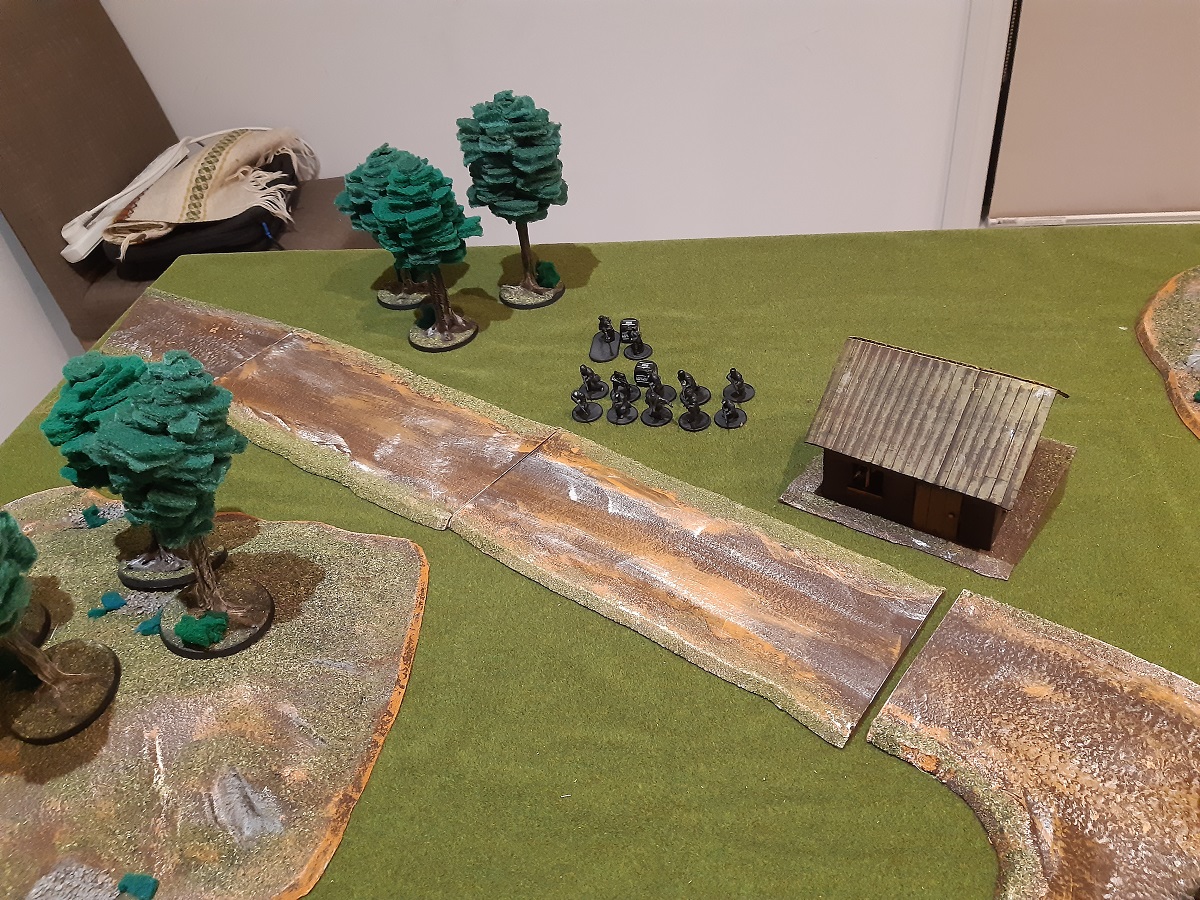
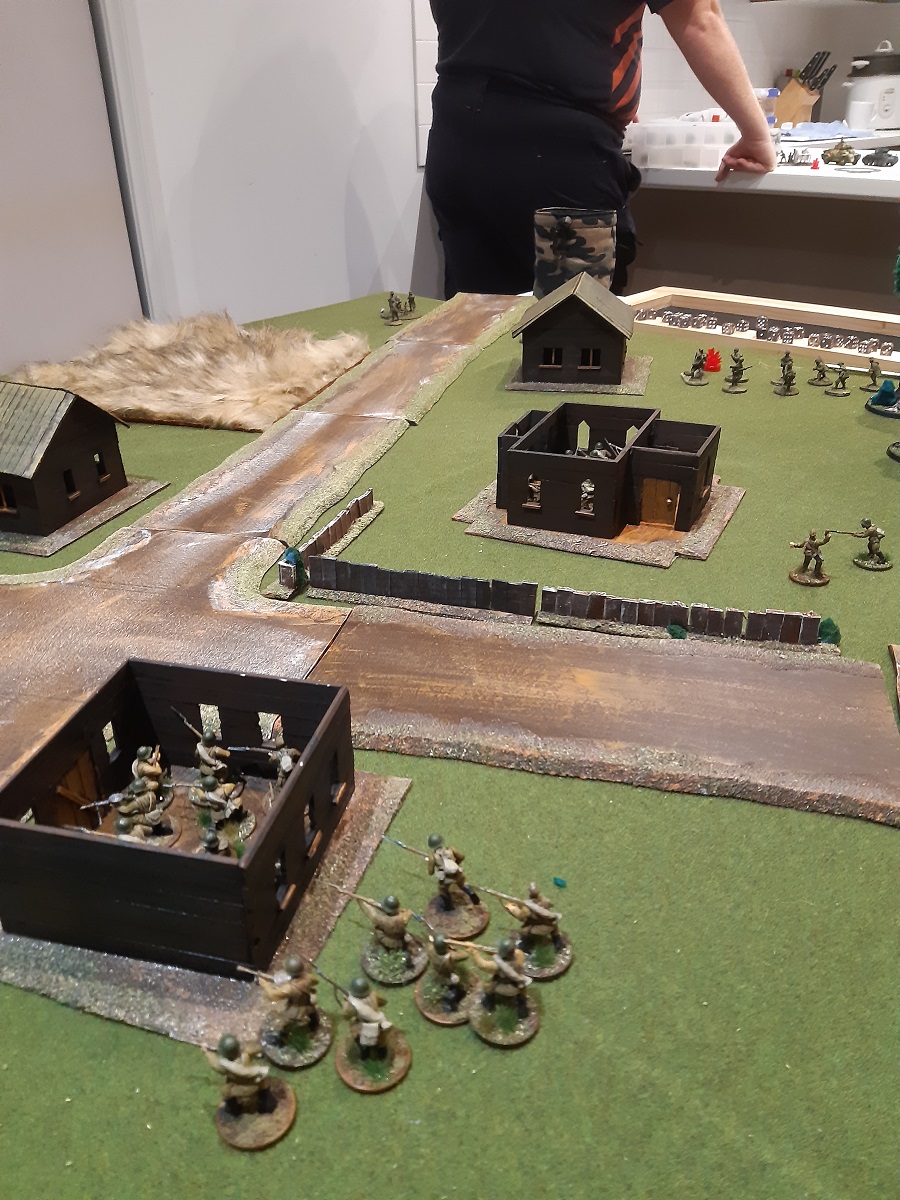
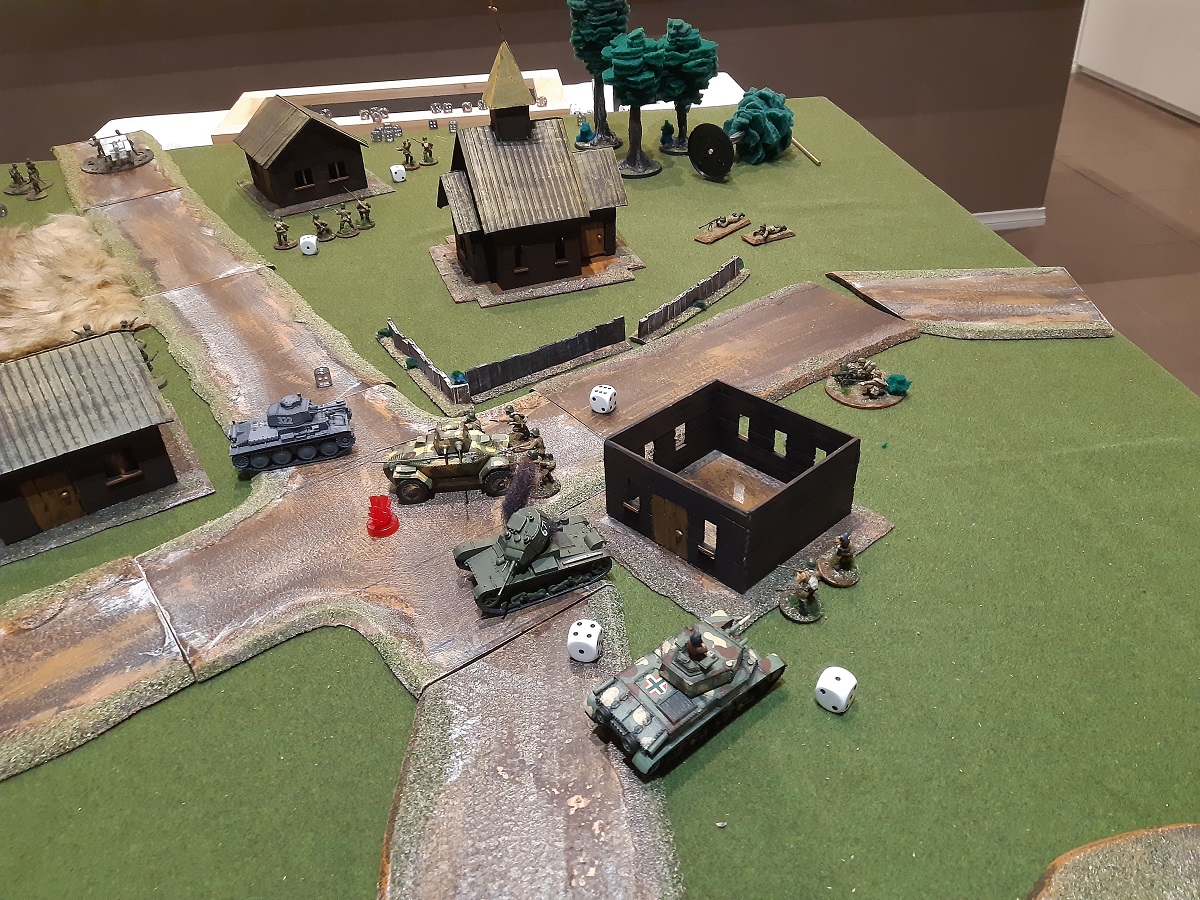
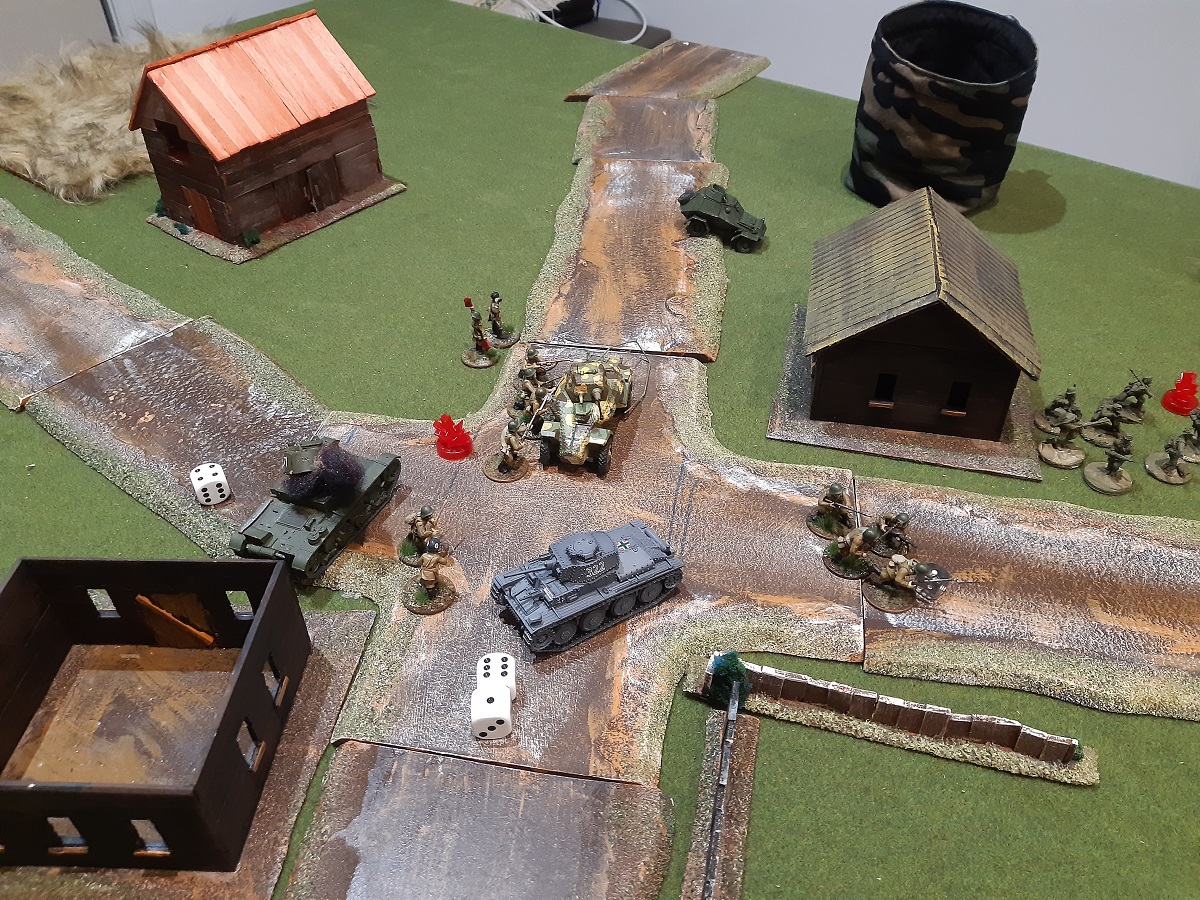
We rolled Key Positions for the mission. Three objective markers were rolled with Matthew placing the first and third while I placed the second. Victory in this scenario goes to the force controlling the majority of the objectives.
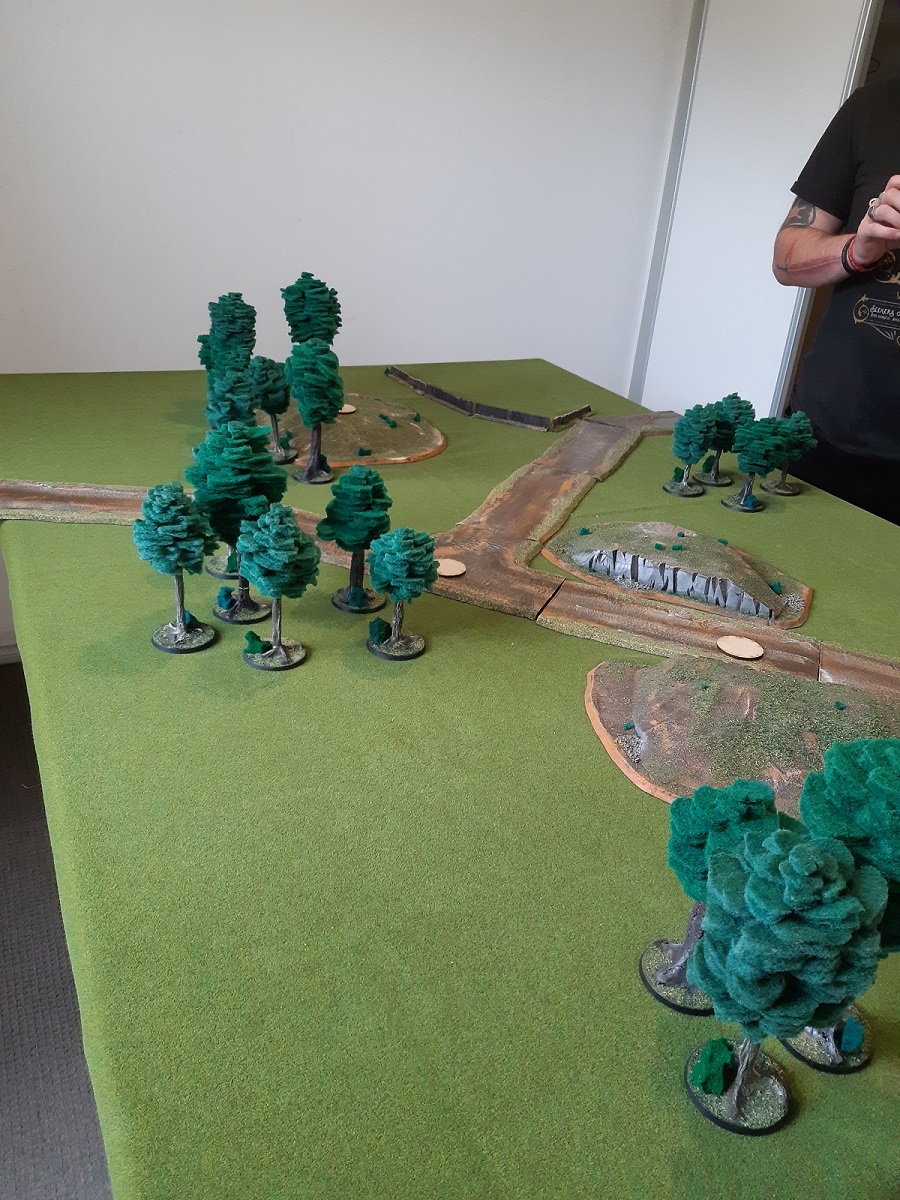
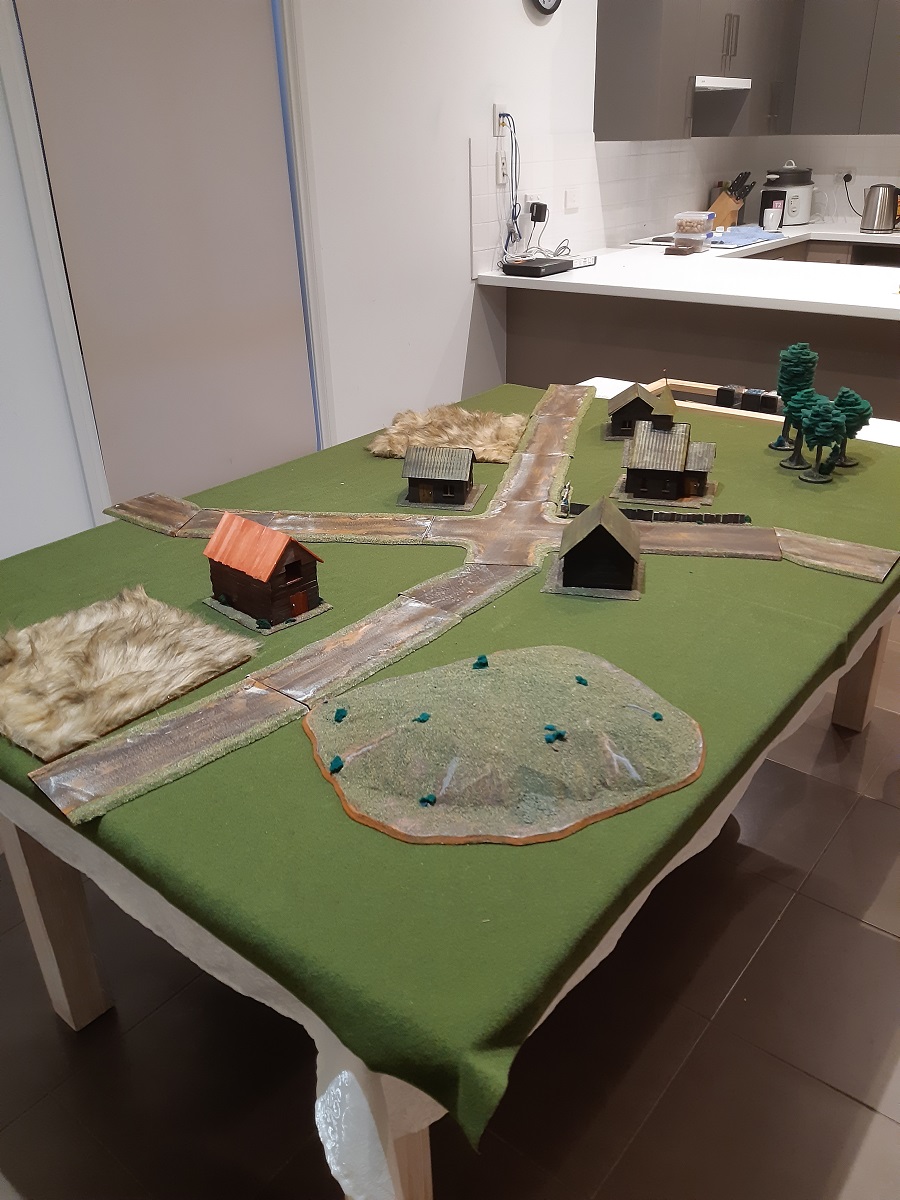
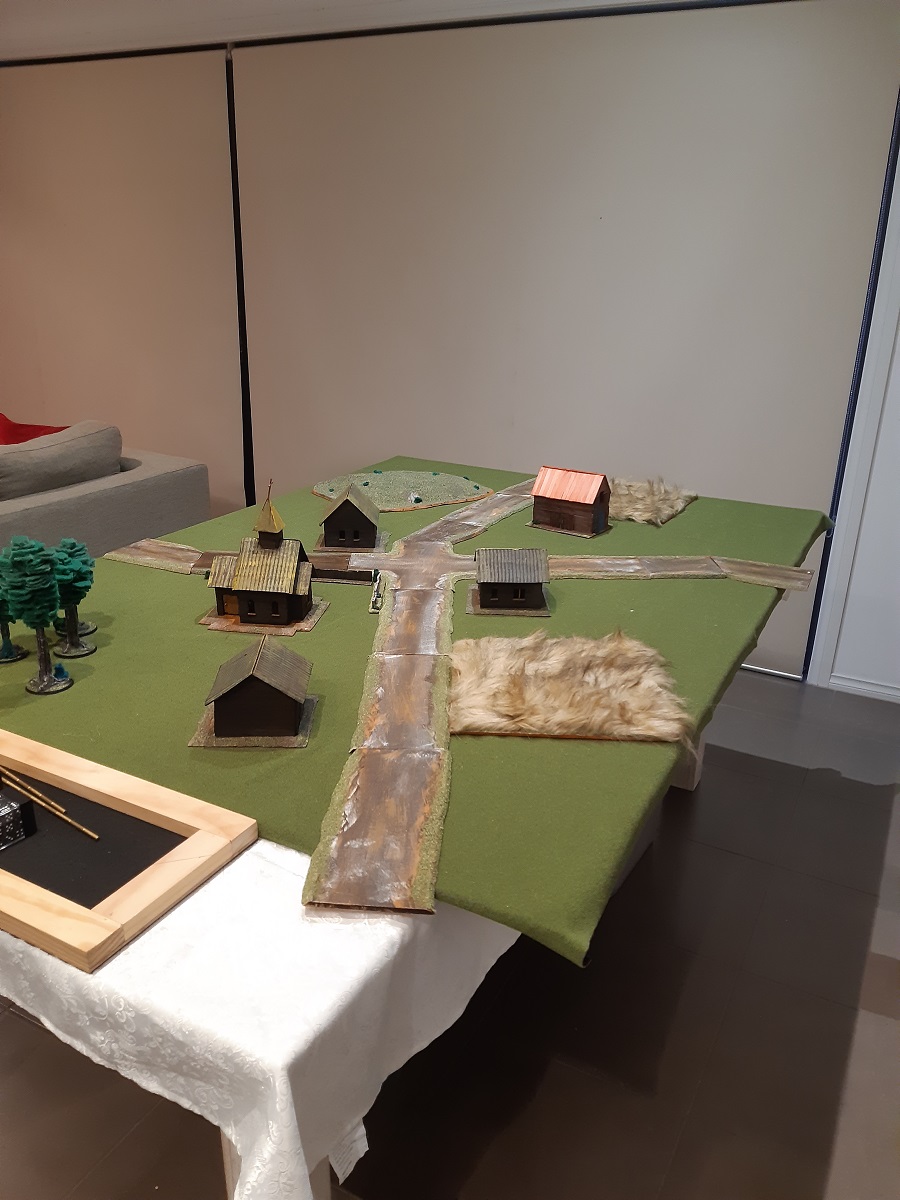
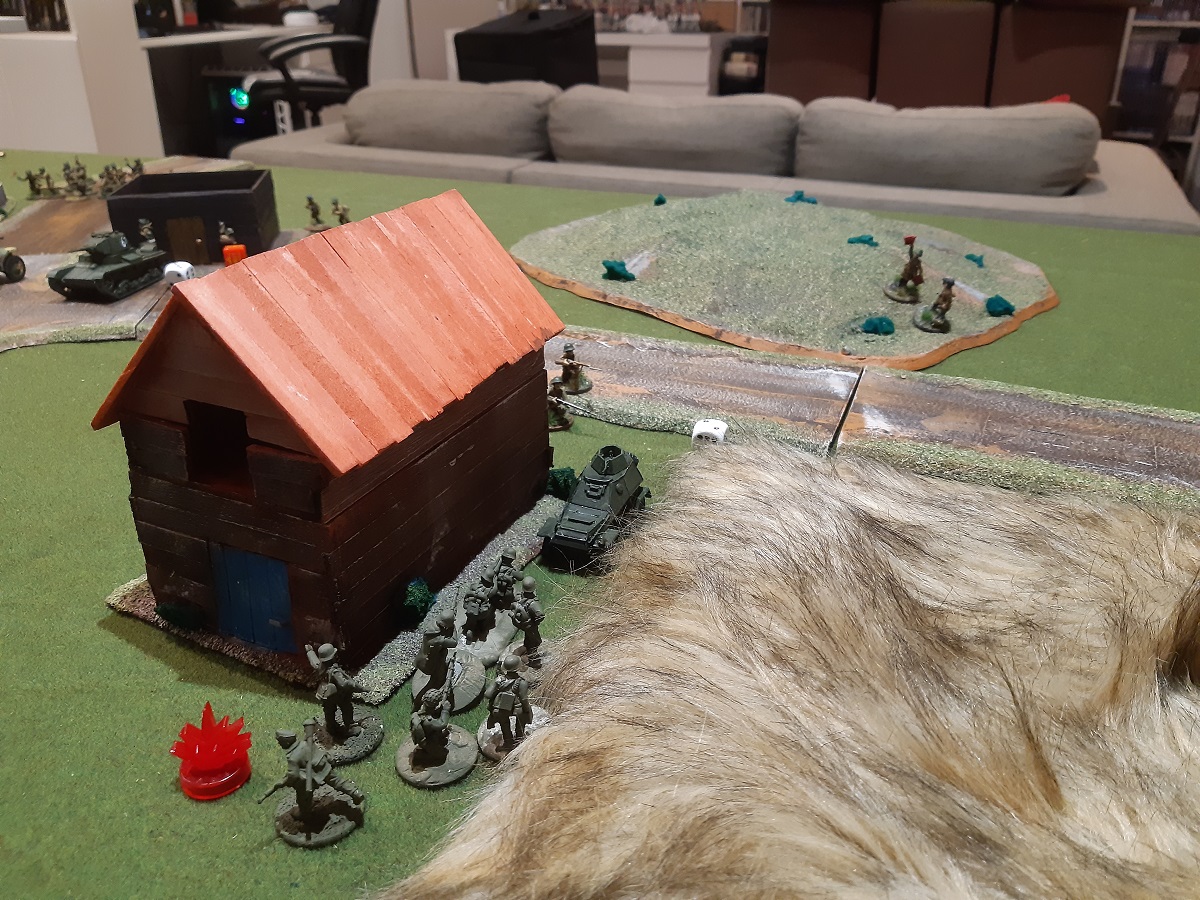
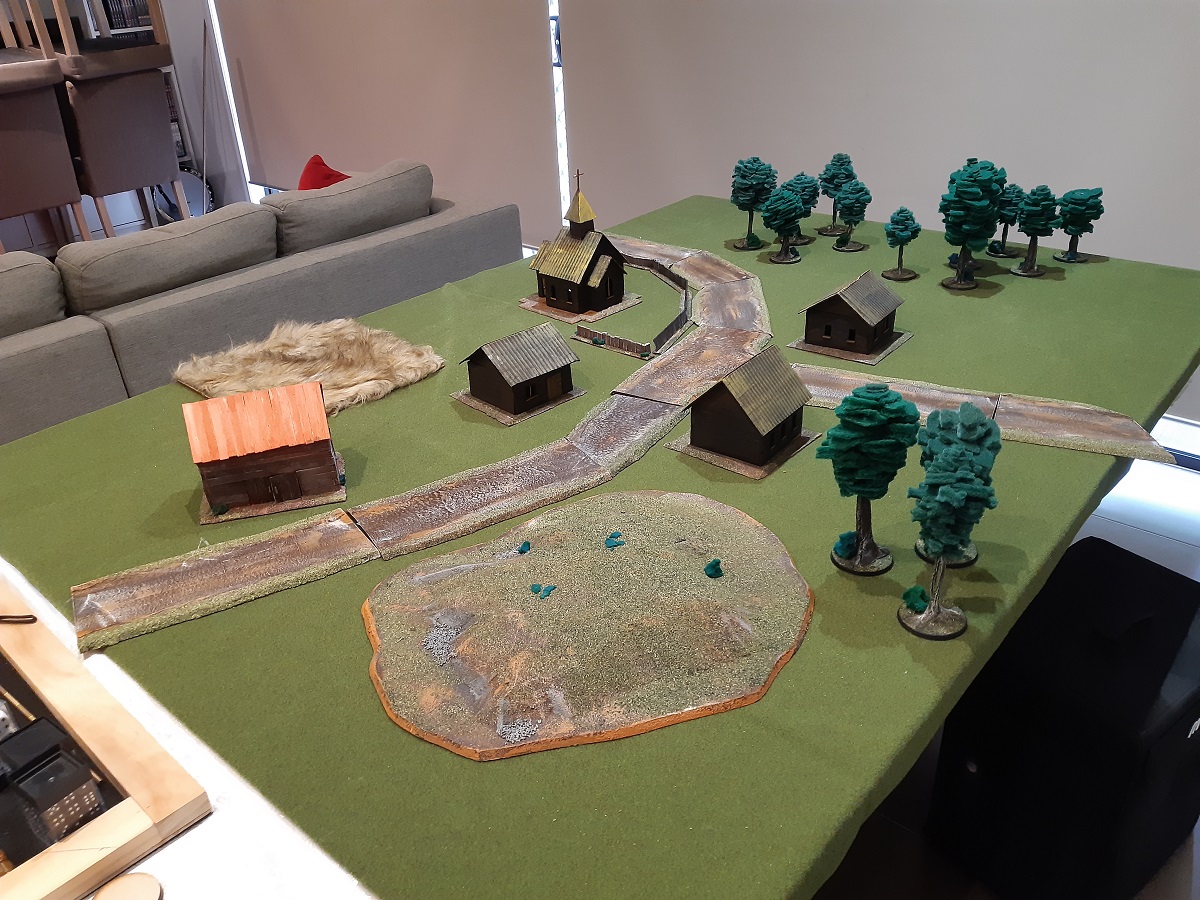
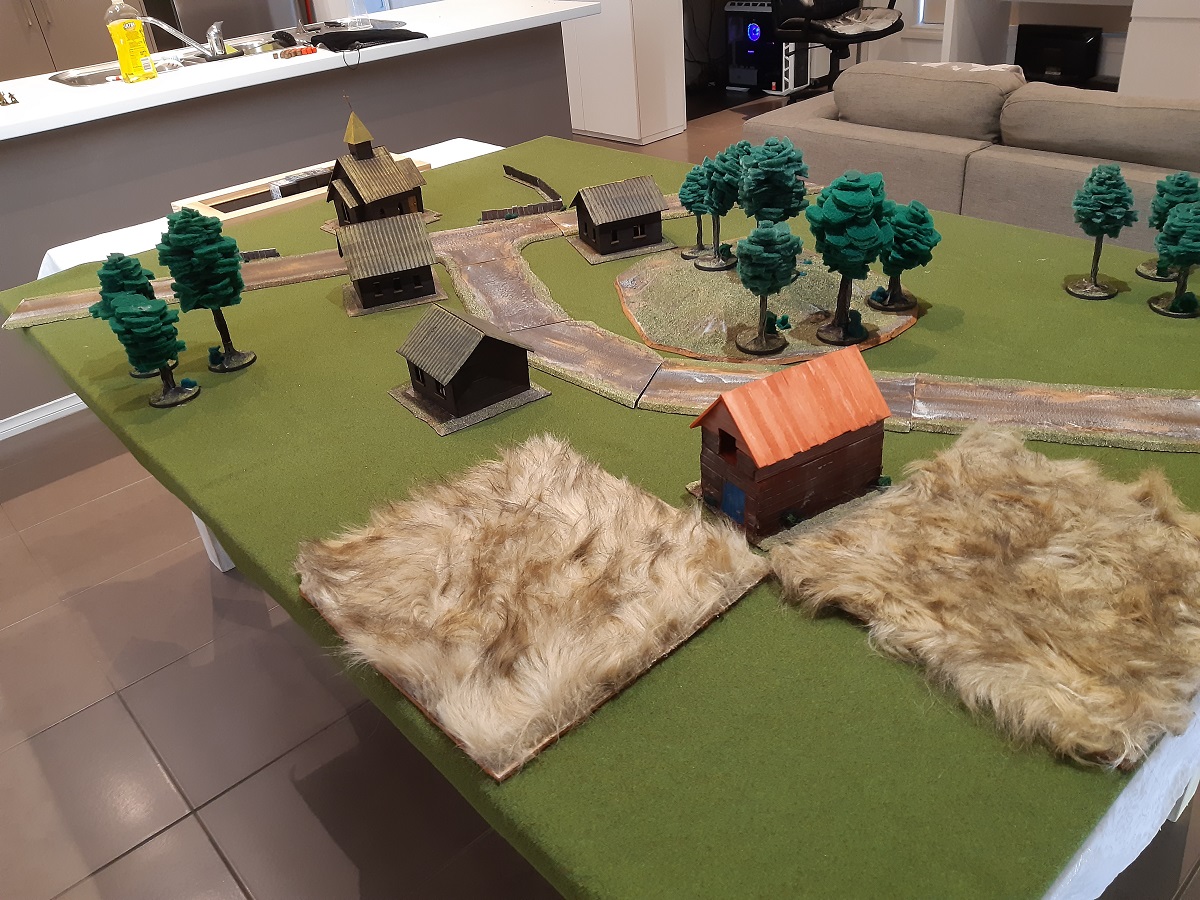
My near left flank was open up to a large forest. The far side of the forest met with a hill, the top of which was the first objective. Beyond the hill, there was a fenced off section of open ground.

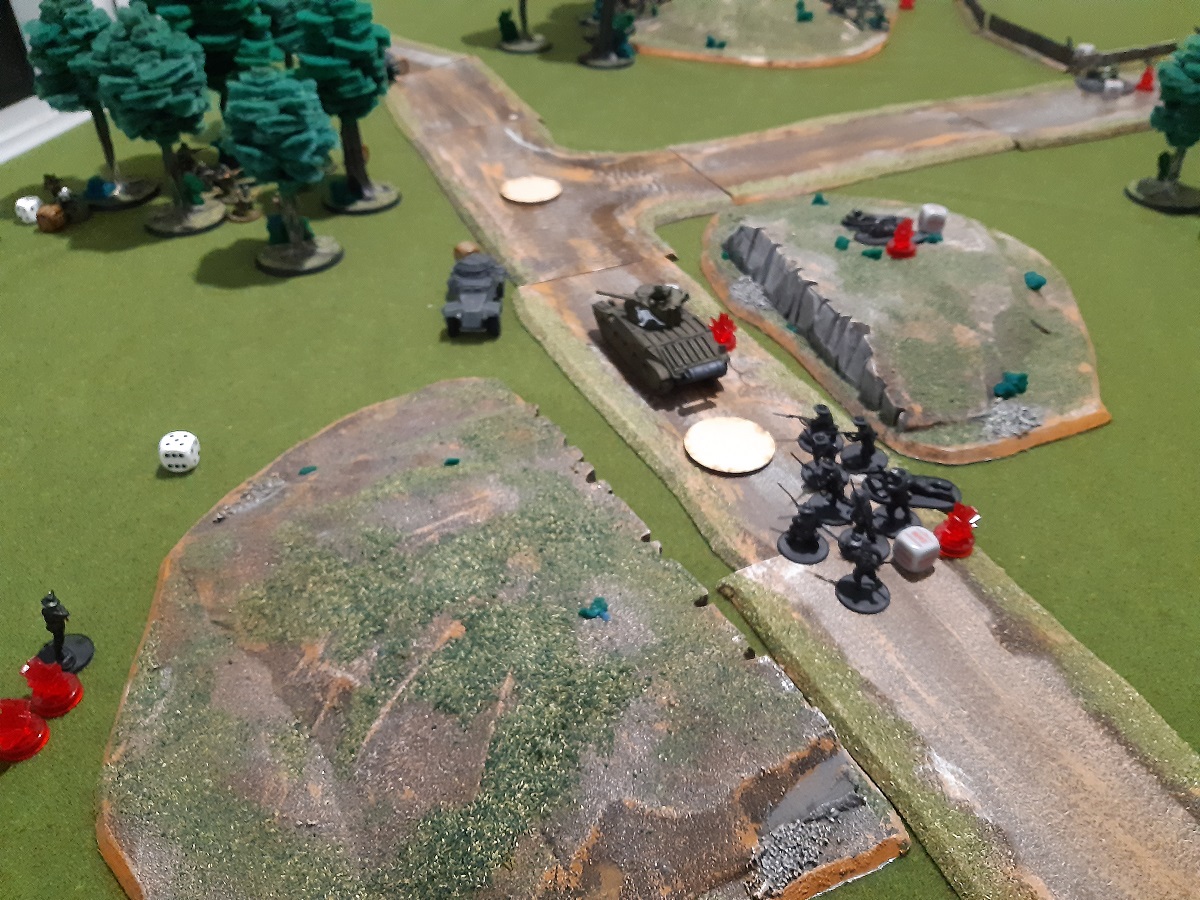
A road entered the battlefield from the middle of my table edge. It curved upon entering and headed diagonally to a T intersection that was just shy of the centre point of the battlefield. The intersection was our second objective. On my side of the intersection was a small wood. From the intersection the road branched diagonally left and off the table next to the fenced area on my far left. To the right of this branch of the road, in the middle of Matthew’s edge, was another small wood.


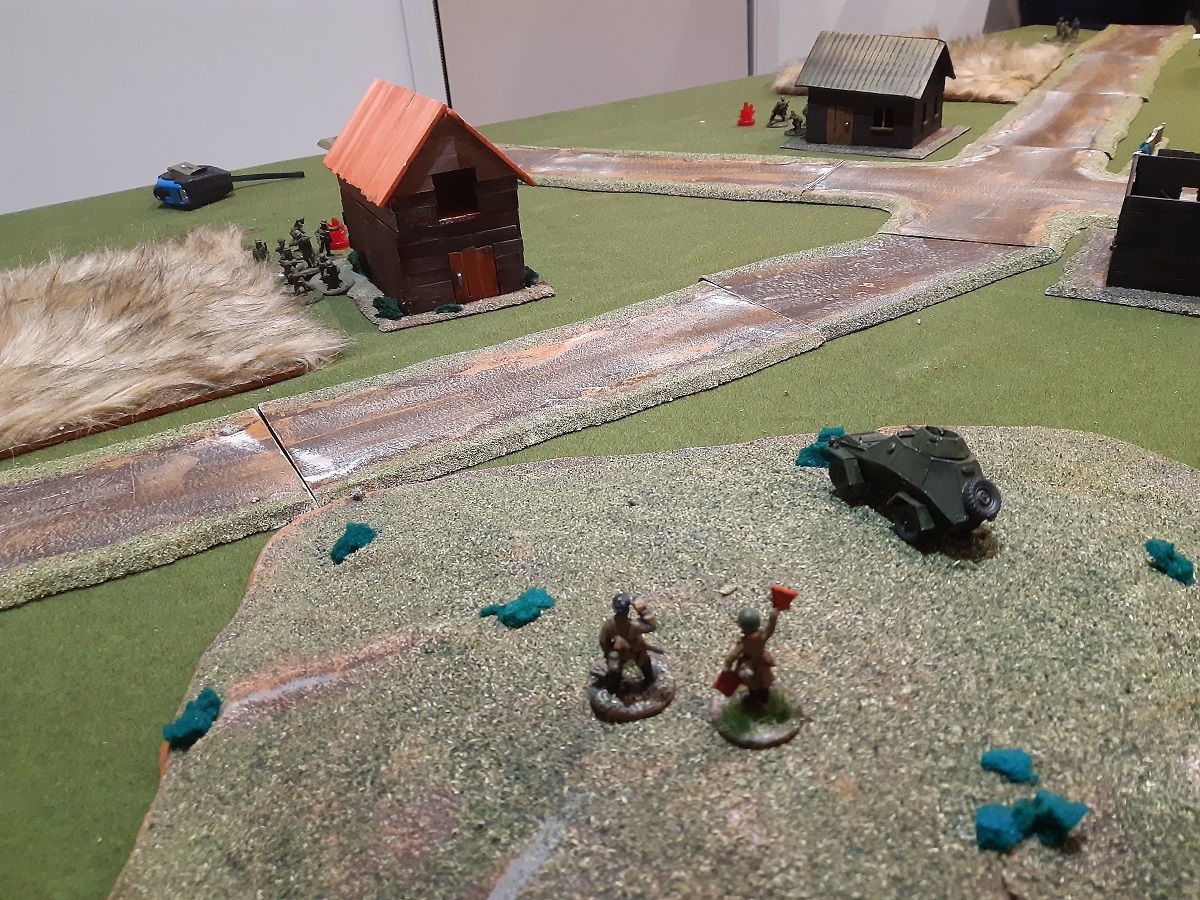
My right was open ground, though a medium wood was position just shy of the centre line and against the right table edge. Beyond this open area two ridges formed a gully. The original branch of the road passed through this gully and then off the board on my far right. The gully was our third objective.
I opted to place my Hanomag and pioneers in reserve, while Matthew did likewise with his commandos. With that sorted, the battle commenced.
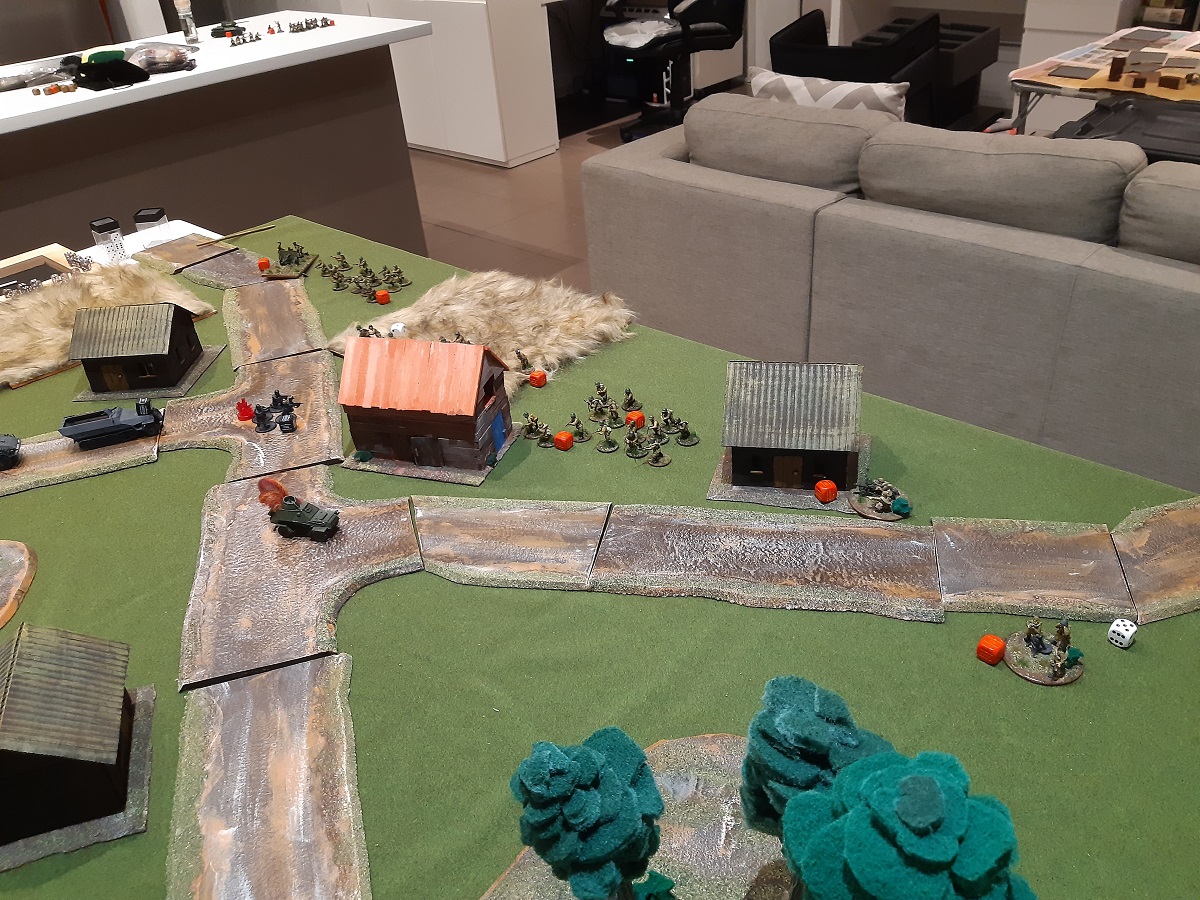
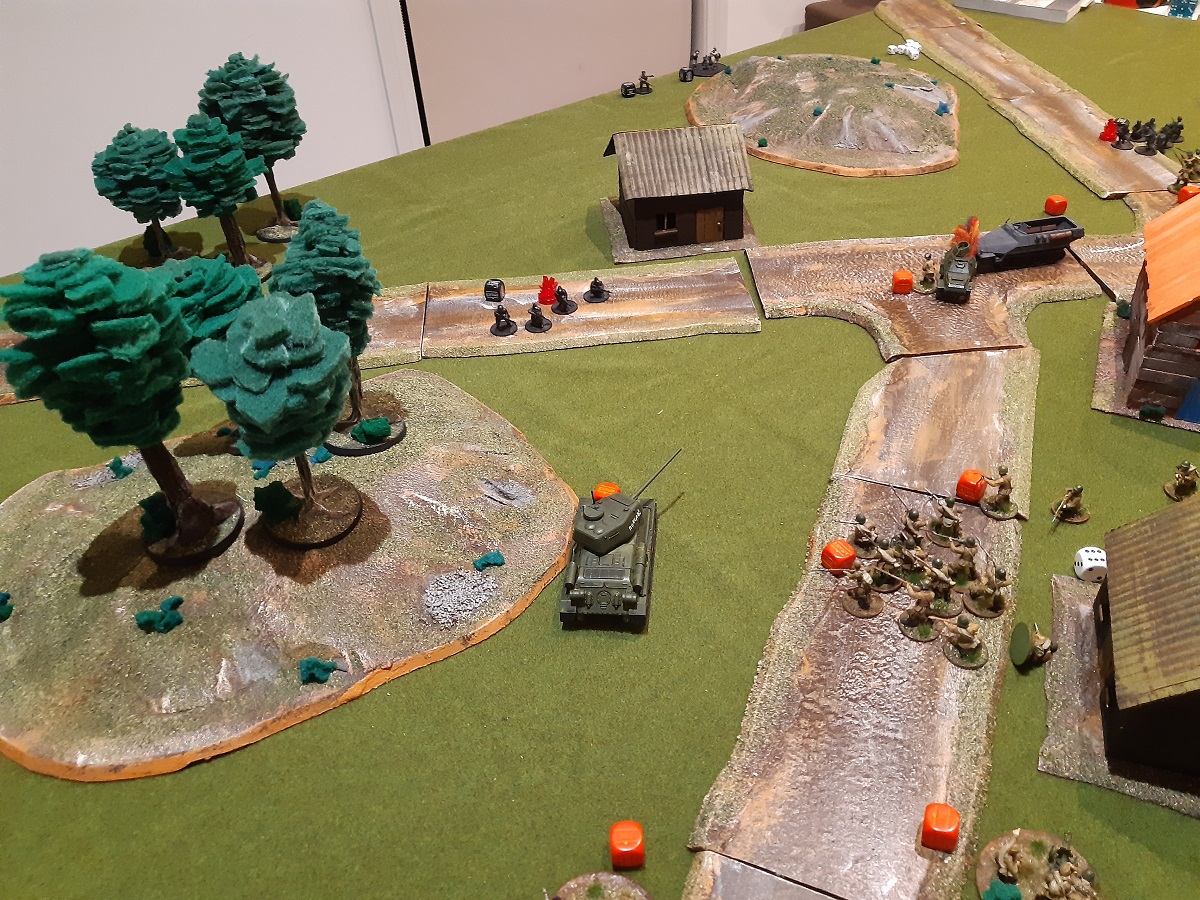
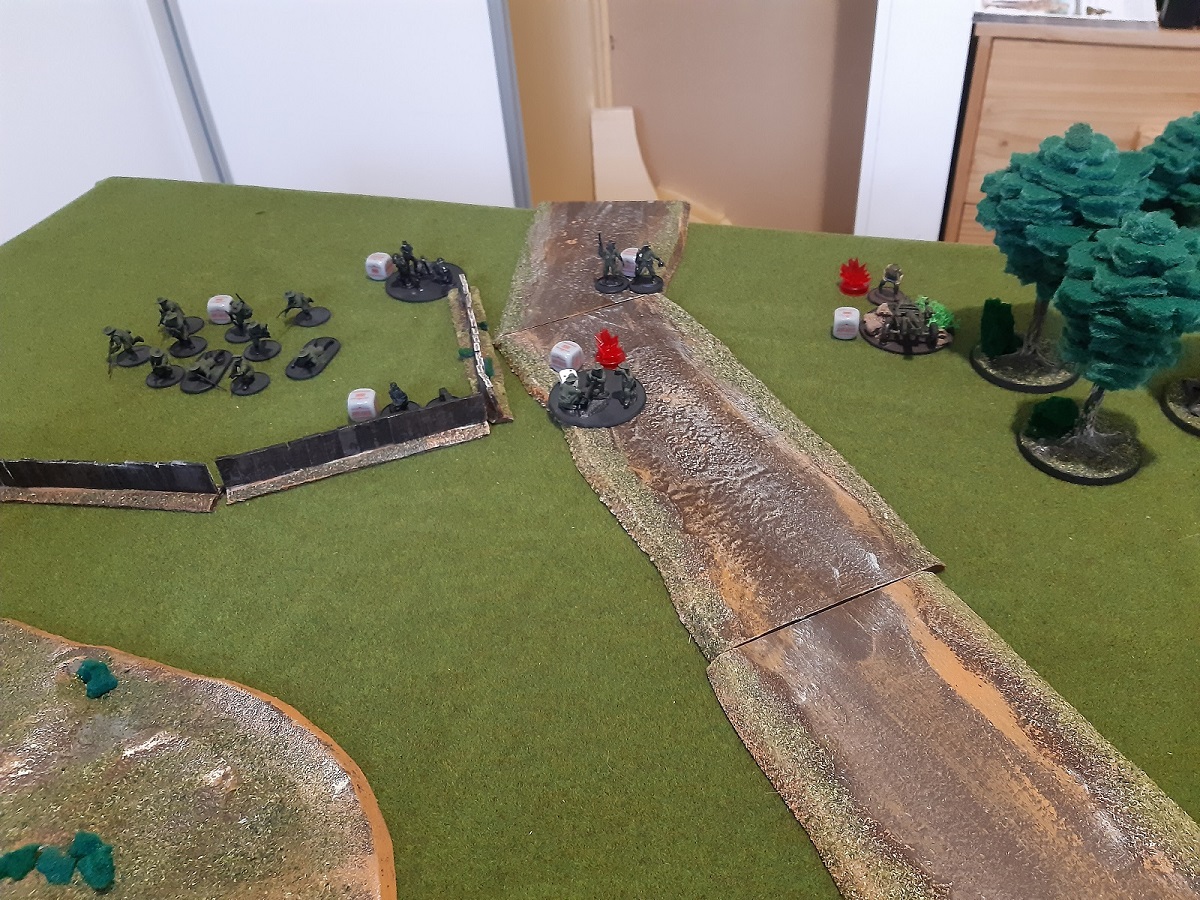
Despite having only nine order dice to Matthew’s 11, turn one began with seemingly endless German dice. I ran my first Heer squad up behind the forest on my left, while the second ran up behind my central wood. The third then ran on into the open on my right. Still the dice kept coming though, so I proceeded to place my Hanomag and pioneers down.
The forward observer and mortar team were the first units to show up for the Australians. Both came on the far left, setting themselves up behind the fences. It seemed the rest of Matthew’s forces were still at the pub however, because another two German dice followed. I used them to bring my medic and lieutenant on, both of which I moved up between my central and right Heer squads.
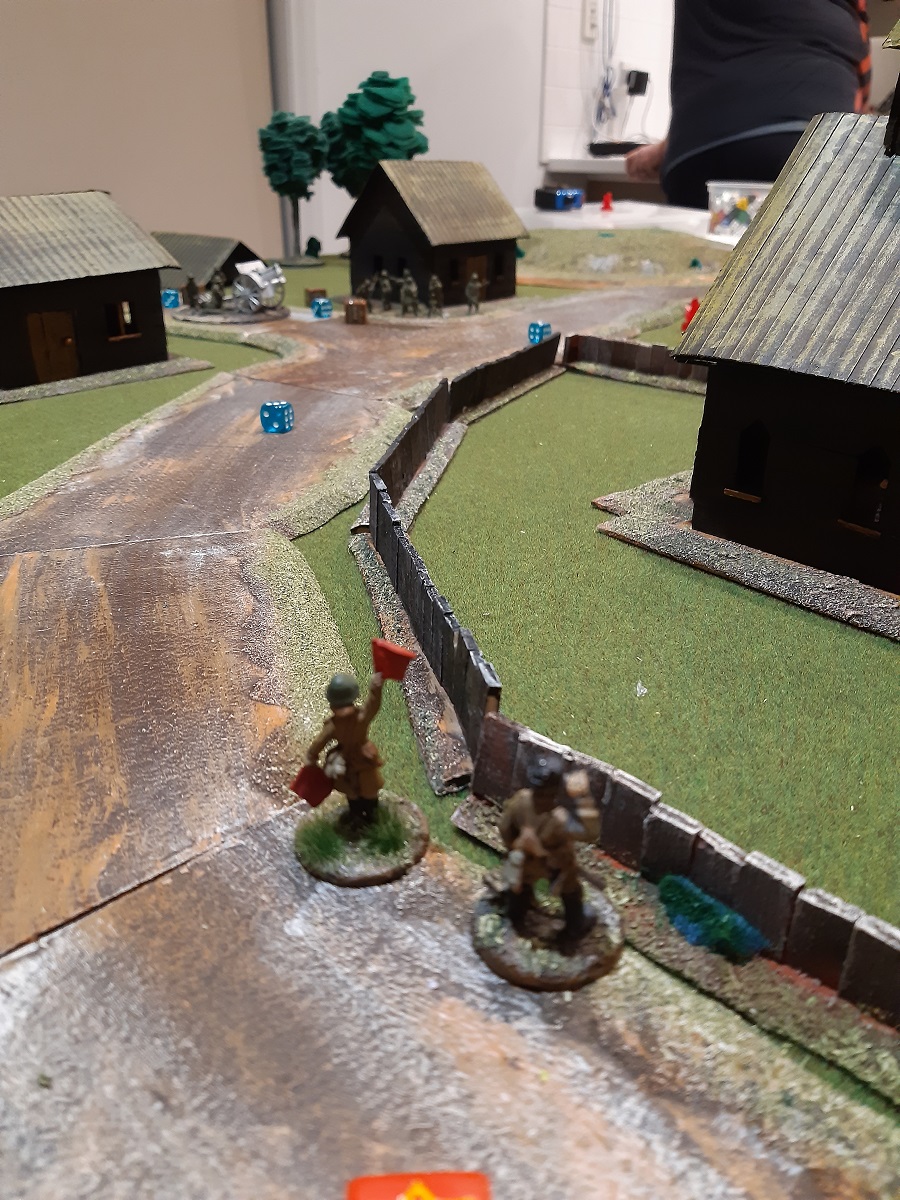
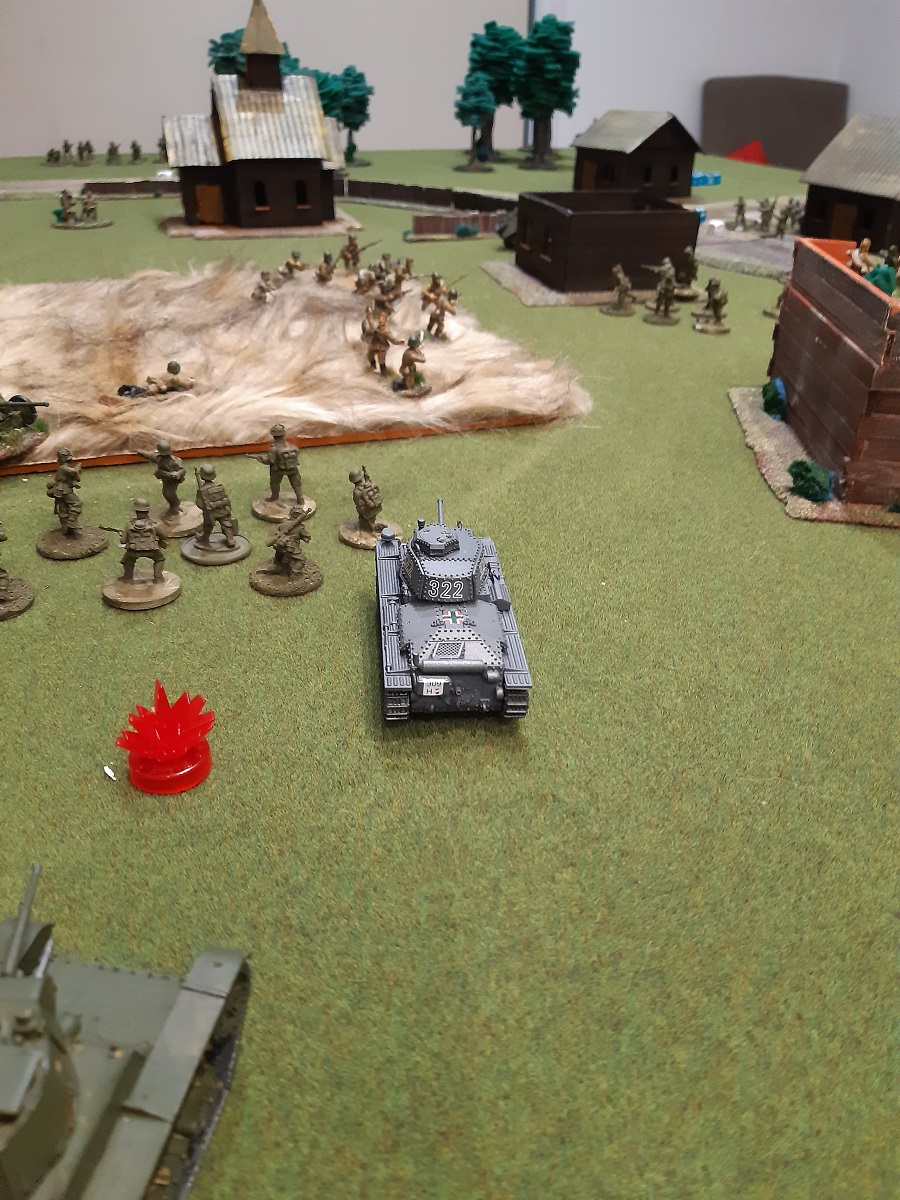
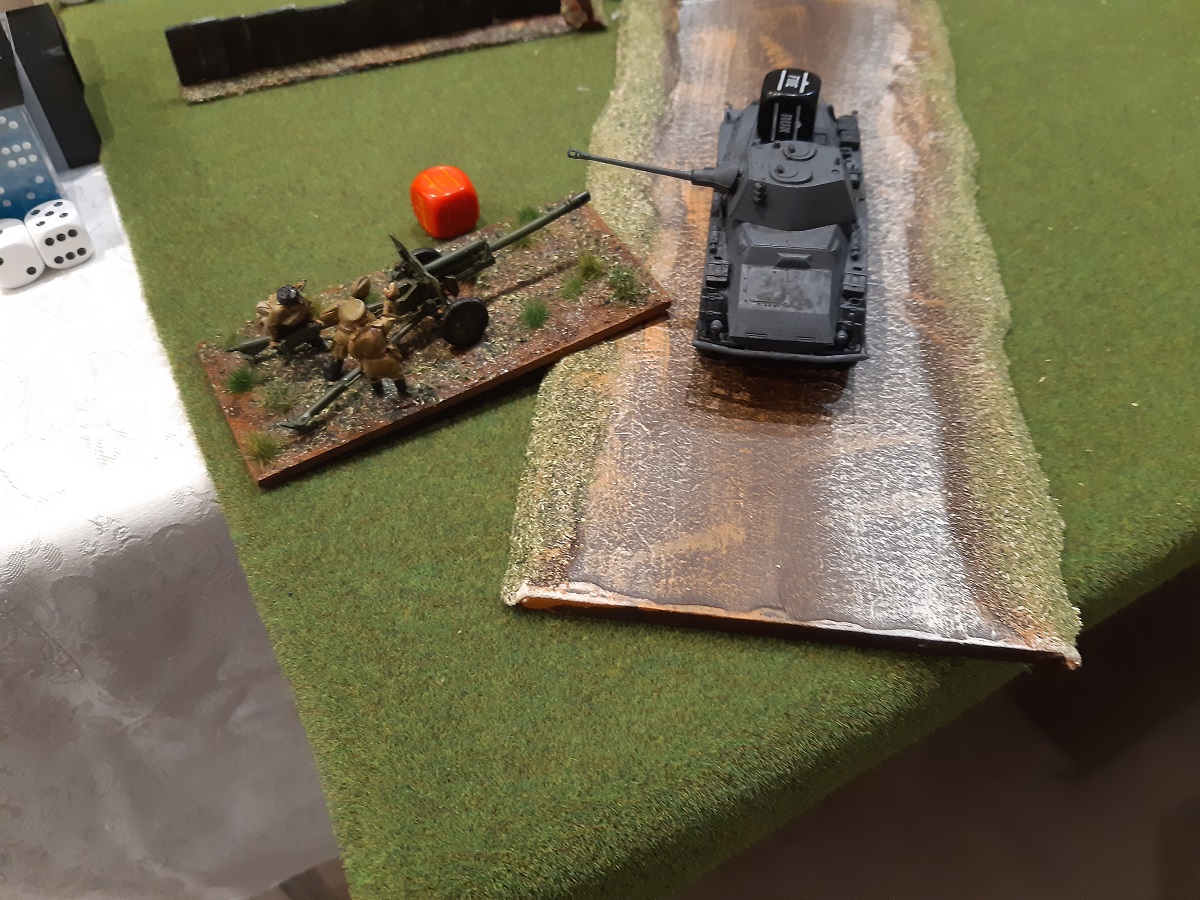
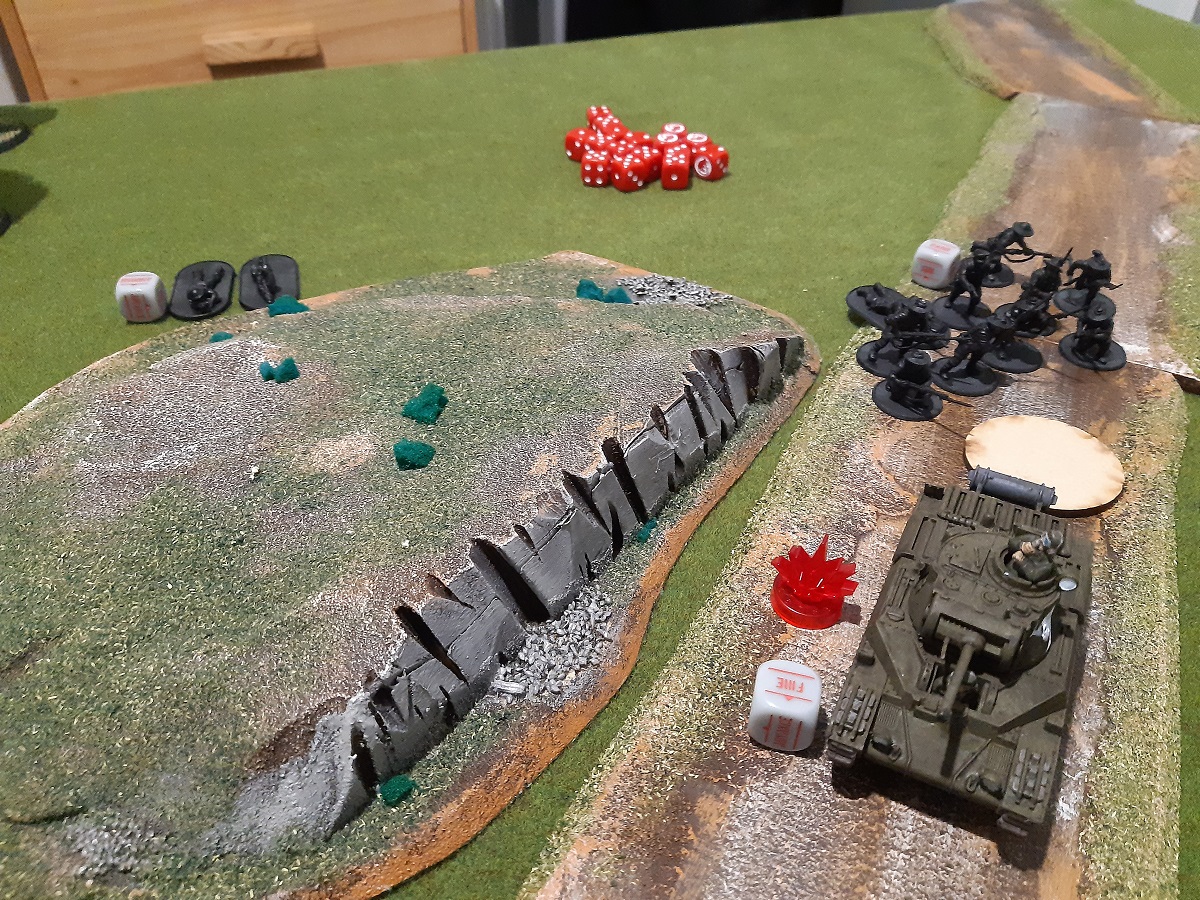
We then went tit for tat with orders. Matthew rolled on the howitzer just left of the trees in the centre of his line. I responded with my triple 2, which advanced up the road and managed to pick off two of the artillery crewmen. The last man stuck around, but the gun’s effectiveness was nonetheless curtailed. Matthew’s MMG then arrived on the left-hand road, only to be met with machine-gun fire from my Panzer III which arrived next. I managed to pick off only a single man, which was arguably the worst possible result.
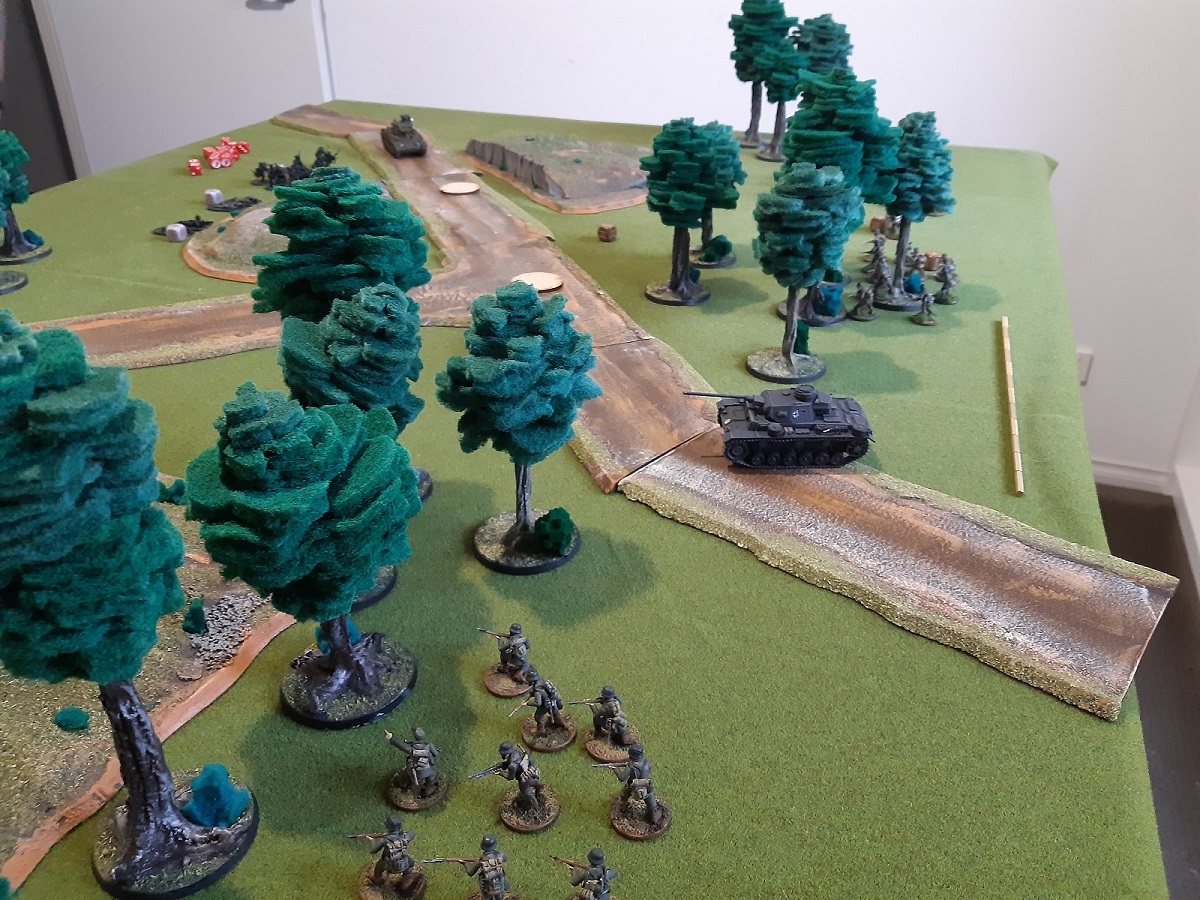
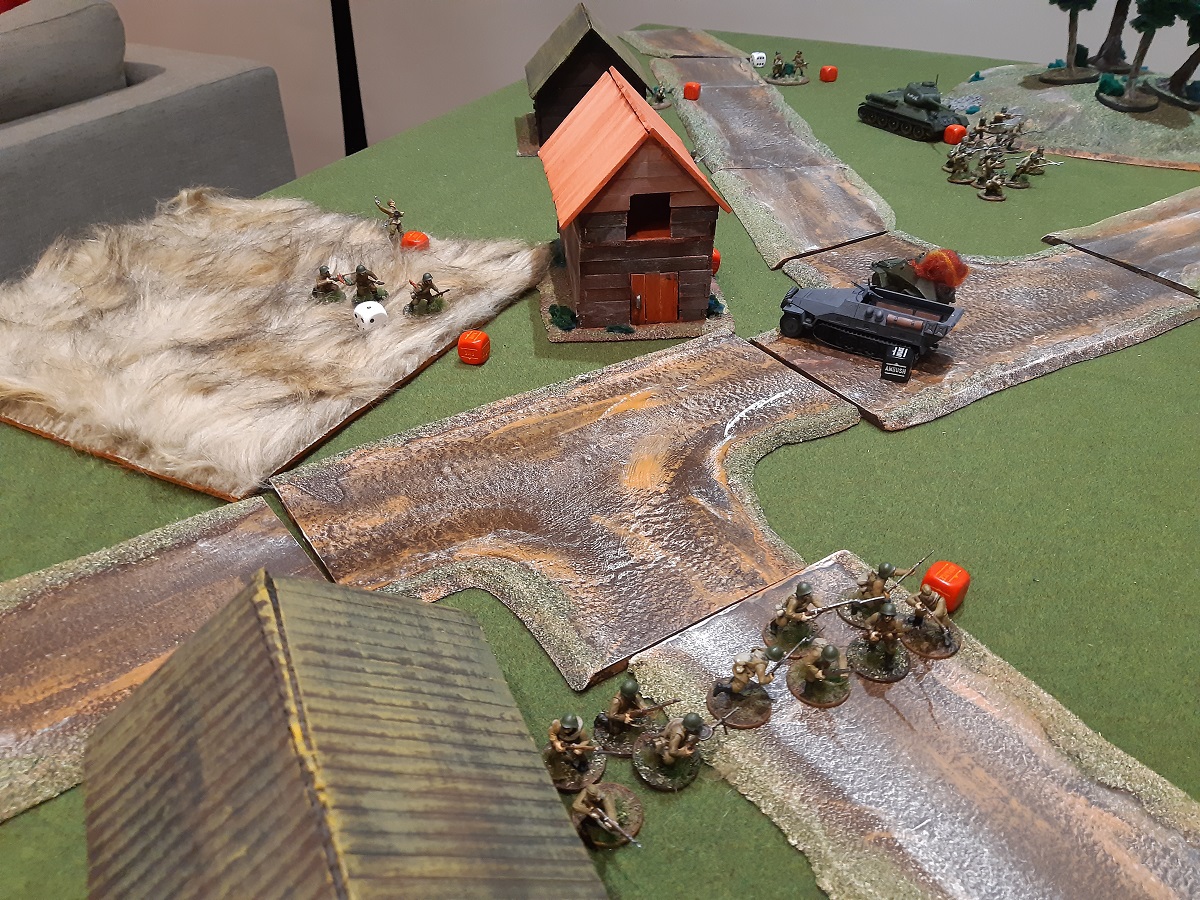
All my dice being out the bag, the rest of Matthew’s forces then arrived. Sheila drove on the right hand road and advanced into the gully, firing wildly on my Panzer as she went. Matthew’s infantry sections ran on up behind Sheila and on the far left respectively, while the sniper and PIAT teams ran up behind the far ridge. Finally Matthew’s own officer arrived to support the howitzer and MMG.
Turn two and I again scored the first dice. Skypanzer put another pin on the Australian MG while also returning a wild shot on Sheila. Matthew netted the second dice and attempted to fire his howitzer in response, but the lone crew man failed his order test and went down.

The next two dice went to me. I backed my triple 2 to keep it safe from the PIAT team and fired wildly at the Australian MG without effect while my leftmost Heer squad advanced into the forest before the hill. In response, Matthew used his next dice to place his MG in ambush.

Another two dice to me saw my central Heer squad advance further into the middle wood, while my medic ran up beside them. Matthew then crept his sniper up the ridge and took a poorly aimed shot at my medic. Another Australian die then saw the forward observer radio for artillery support, with an aiming point placed on the righthand edge of the middle wood.
The only other action for the turn was Sheila firing on Skypanzer. Her shot went home this time, but she failed to cause any damage.

As for the remaining units; my Hanomag and pioneers both went down, while my third Heer squad and officer continued to run forward across the open ground. As for Matthew’s units; his first infantry squad advanced to the fence and his second into the gully, his officer and commandos went down, and his mortar and PIAT team went into ambush. At the end of the turn, Matthew opted to retain all his ambush orders, as well as keeping his officer down.
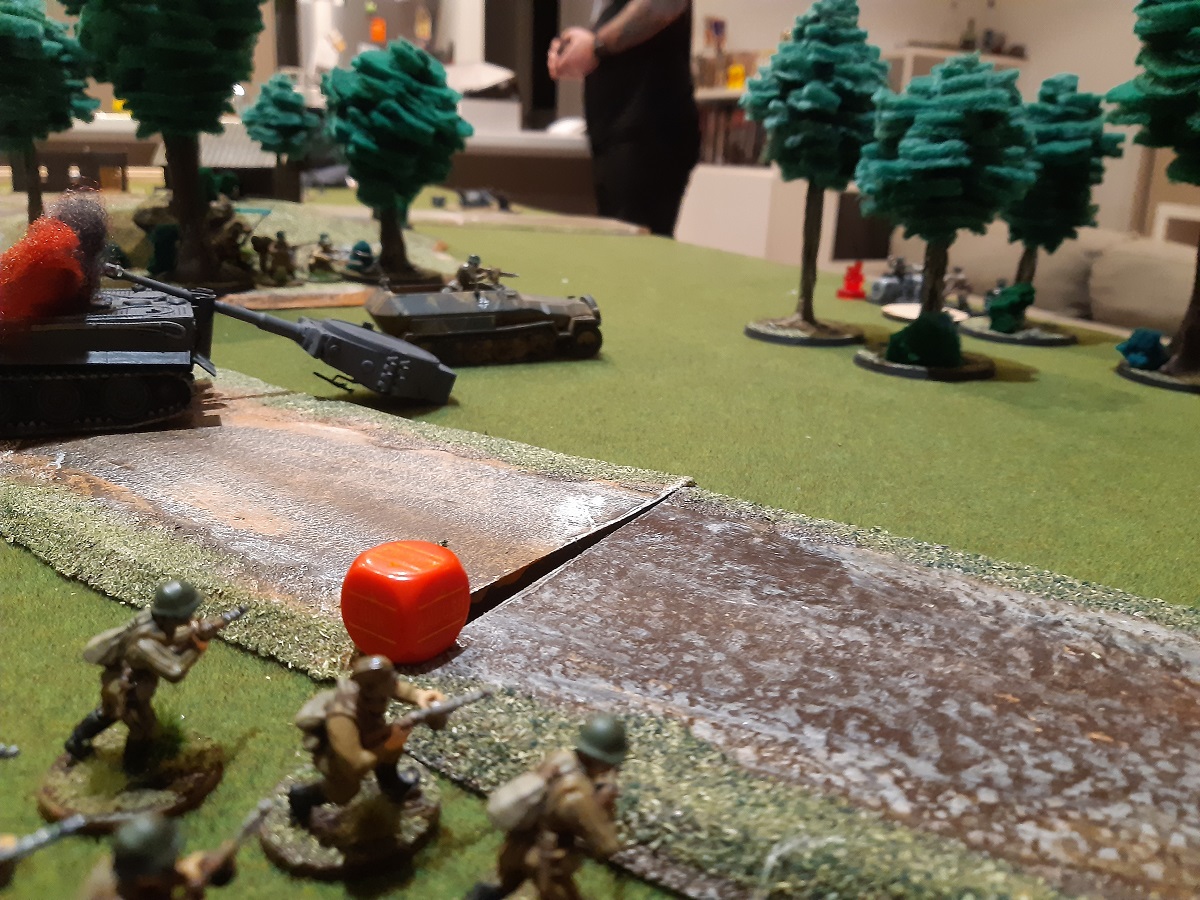
Turn three and the booming of guns heralded the Australian artillery barrage. Despite a miscalculation, shells still rained down on my officer, third Heer squad, and medic. The former took three pins a piece, while the latter took two.
Yet again I won the first order dice of the turn. I decided continuing to push my luck with my panzer was a bad idea and issued it an advance to turn and face the enemy armour. Though my main gun shot went home, I failed to pierce Sheila’s armour. Meanwhile Skypanzer’s hull MG sent Matthew’s infantry in the gully down on their bellies.

The initiative continued with me as Matthew drew another two German order dice. The first saw my triple 2 cut Matthew’s sniper down in a devastating burst of machinegun fire. Next my officer ordered my third Heer squad and medic to snap to and rally. The officer and Heer both passed their order tests and dropped two and three pins respectively. My medic however failed and went down.
My order dice didn’t end there though. I tried to bring my Hanomag on, but it failed its order test and went down. Then my first Heer squad advanced up to the hill but shy of the summit.
I was beginning to doubt whether any of Matthew’s dice were actually in the bag, but thankfully proof of their existence was found. With his first, Matthew attempted a shot on my panzer from his light howitzer, only to be foiled by the penalty for having one crewman. Matthew’s poor luck continued when Sheila activated, fired on the triple 2, but failed to penetrate its armour despite needing anything but a one.
The bedevilling of Matthew’s shooting didn’t stop there however. When the commandos arrived within short range of my third Heer squad I thought their days numbered. By some fluke of poor marksmanship or munitions however only a single member of the squad fell; despite Matthew’s 17 shots.

The rest of the orders for the turn saw my pioneers go down, Matthew’s first infantry section advance to the hill, and my second Heer squad pick off a couple of men in Matthew’s first squad with some long range LMG shooting. The forward observer went down at some point too. At the end of the turn, Matthew again kept his ambush orders, except for his PIAT team.
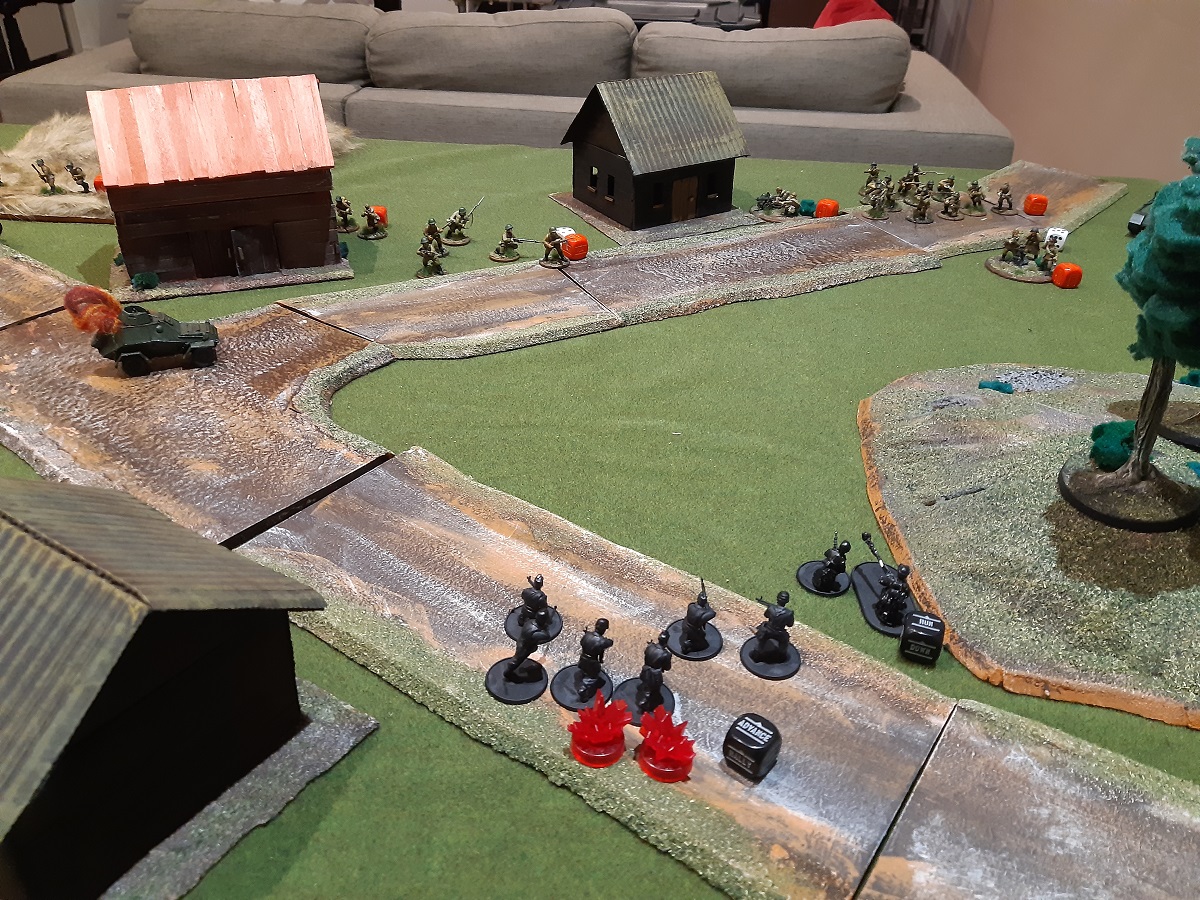
Turn four and yet again I scored the first dice. Knowing they were not long for this world, I had my third Heer squad unload a hail of lead on the commandos. Only a single shot missed and I then proceeded to roll five wounds, wiping half the squad. The commandos passed their morale test however and proceeded to wipe my Heer without loss a couple of dice later.
Meanwhile, in the centre, my panzer had fired again on the Matilda and the infantry in the gully. A lucky shot took out a single infantry man, but my main gun continued to be ineffective.
Another German dice and I decided to make an absolutely absurd move. I sped my triple 2 forward and up next to Sheila and unloaded my auto-cannon into her side armour. While I netted two hits, I was unsurprised to find the shots were ineffective. Still: a pin is a pin.
When the next dice was Australian, I knew my little armoured car was not long for this world. Sheila sent another shot slamming into the side armour of the vehicle. Only to yet again roll a one on the penetration roll. Matthew then moved up his PIAT team to do what Sheila could not, only to find his shot go wide.
With my next two dice I ran my medic back toward my board edge. This move left my second Heer squad open to fire upon the commandos. My shooting was not as devastating this time, but I nonetheless whittled the commandos down to three.
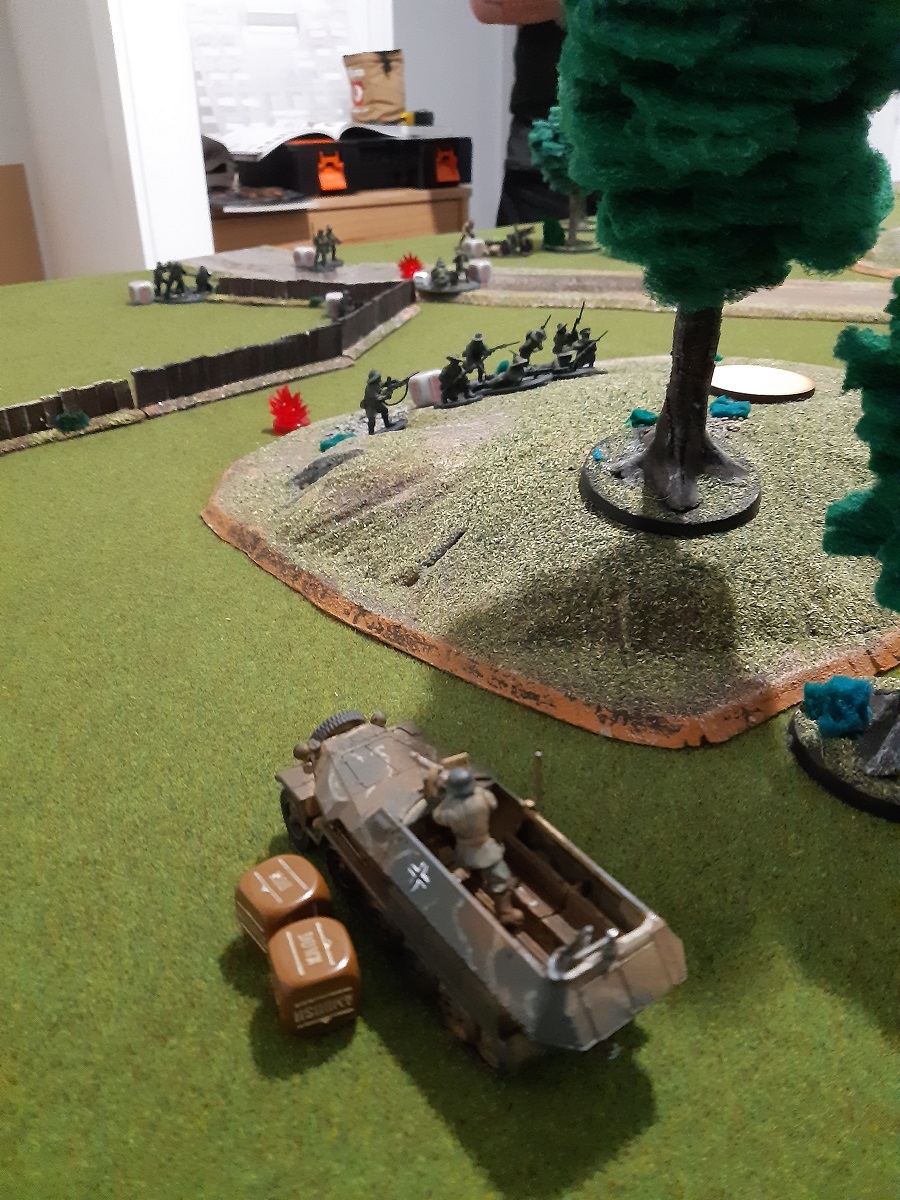
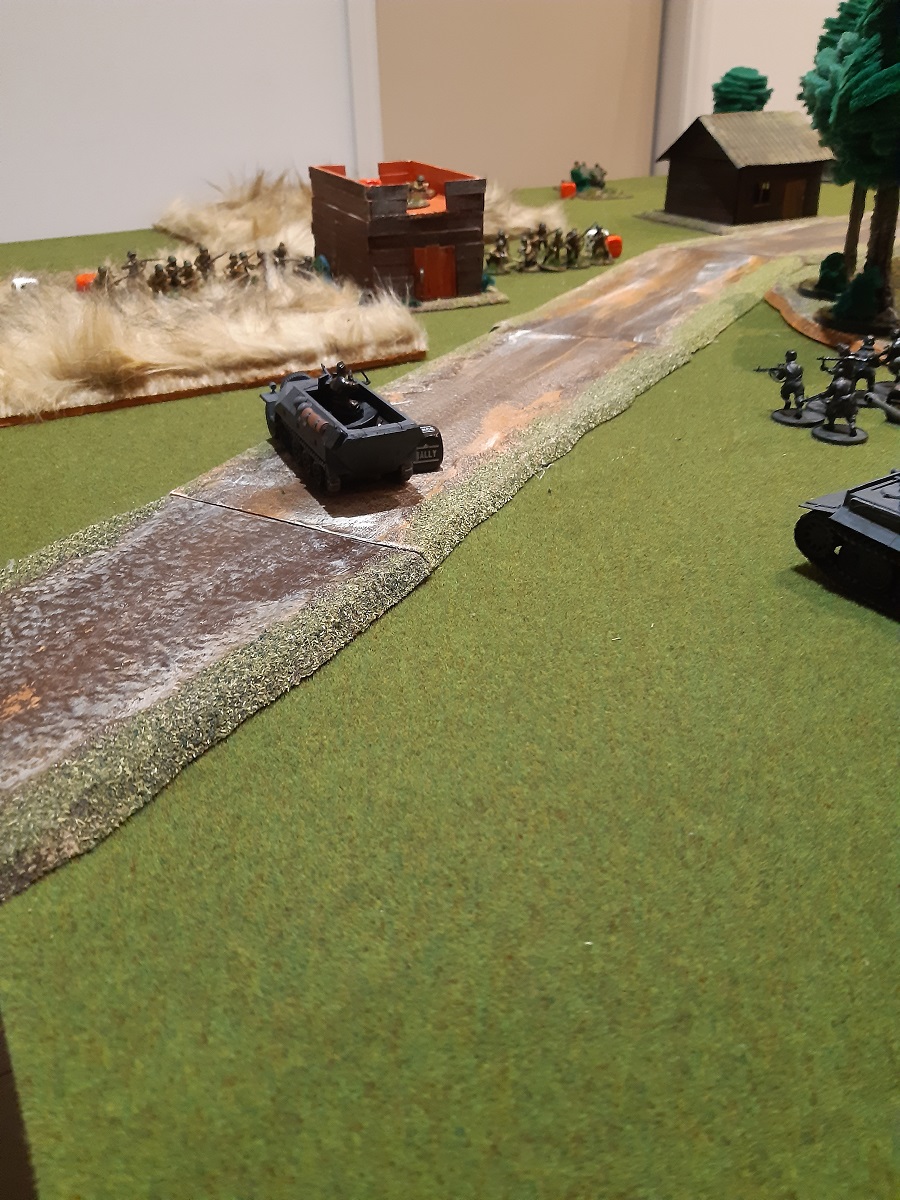
The tail end of the turn saw Matthew’s howitzer miss my panzer by one again, the infantry near the hill go into ambush, and the infantry in the gully go down. As for my last orders, my Hanomag arrived and sped up the left side of the field while my pioneers kept themselves down. Finally my first Heer squad took a few wild shots at the PIAT team and my officer ran away from the commandos to join my medic.
Turn five and yet again German dice flowed free. I began with my tiple 2, speeding towards the commandos and firing its auto-cannon as it went. By the time the gun was silent the commandos were no more. Skypanzer then opened up on Sheila and the PIAT team with no effect on either.
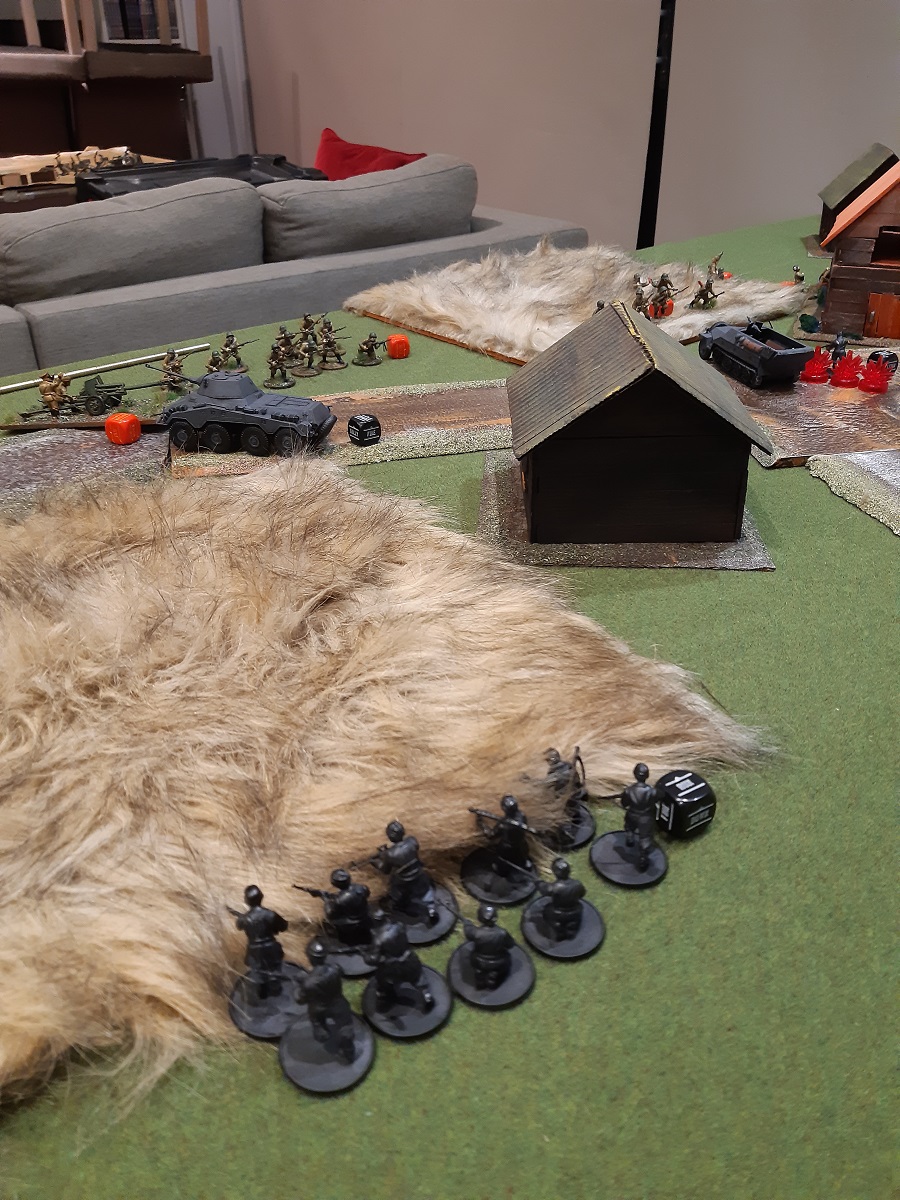
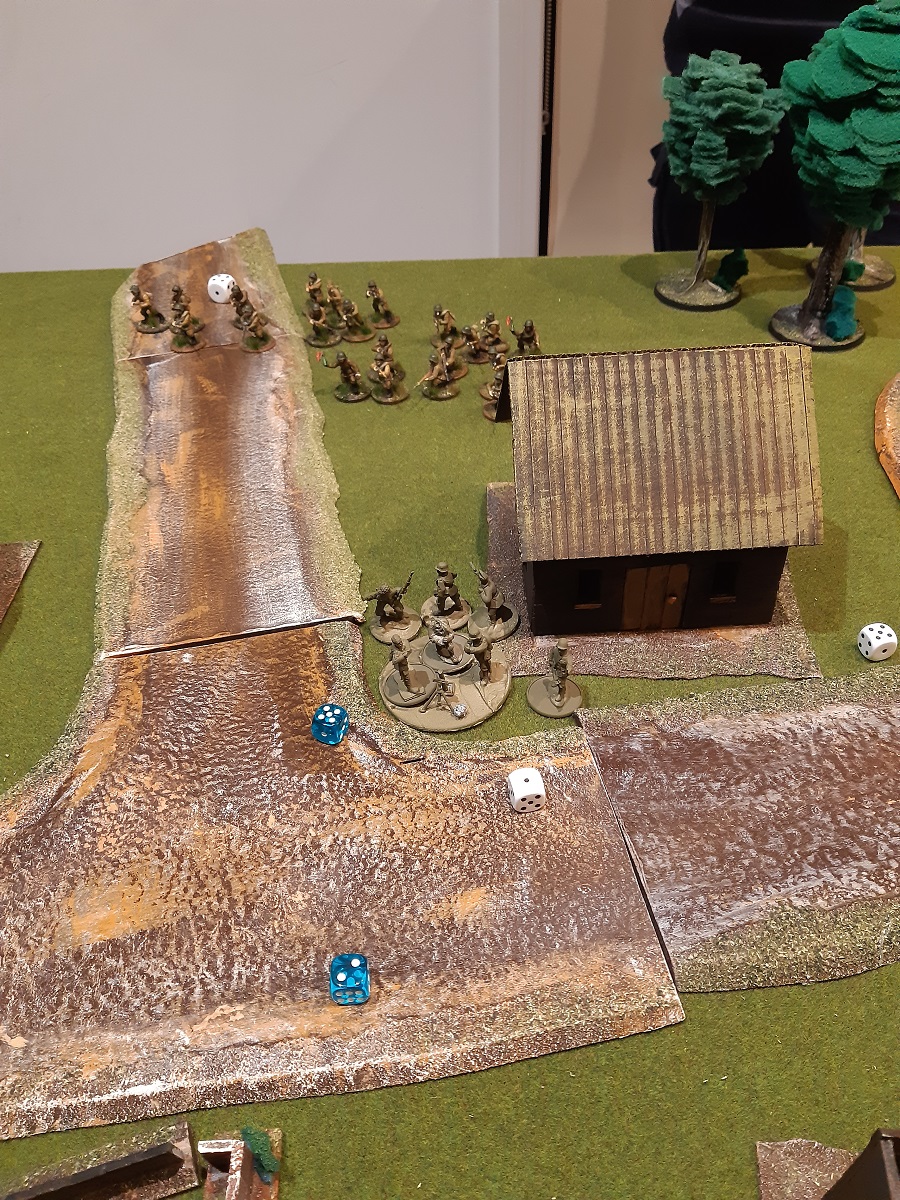
Meanwhile on the left my Hanomag advanced, picking off a couple of Australian infantrymen as it went. My first Heer squad followed, mounting the hill. In response, Matthew turned the ambush orders of his MG and mortar to fire. Luckily for me the mortar missed, but the MG managed to pick off two brave men. In response my Heer opened up on the infantry section in front them, cutting them down by half.

The German dice weren’t done yet though. With my next my second Heer squad saw off the PIAT team with some sharp shooting. Back on the left, my pioneers dismounted and mopped up the last of the infantry section near the hill.
My final two dice were then drawn, turning the turn into a I go, you go turn. I used them to put my medic and Oberleutnant down. Very exciting.

Finally the remainder of Matthew’s forces were able to act. The howitzer attempted to shell my infantry on the hill, but missed. Sheila then fired on my panzer, but once more was let down by her munitions. Finally Matthew’s last infantry section went down.
Turn six and what would you know, it began with German dice again. My panzer’s main gun boomed out once more and this time it struck home, immobilising Sheila. My triple 2 followed up and by some sheer quirk of blind luck managed to score a glancing hit on the tank. The lucky hit caused another immobilised result, thus knocking Sheila out for good.

In retaliation Matthew’s mortar and MG fired on my men on the hill. The Heer went down as a mortar shell sailed long, though the slowest of the squad was taken out by the burst from the MG.

From there the turn was fairly uneventful. My officer and medic ran up right of the central wood as my central Heer squad moved onto the objective in the intersection. On the left, my pioneers saw off the forward observer, while Matthew’s howitzer missed again.

The final order of the turn saw the Australians in the gully ordered to charge the triple 2, only to fail their order test and go down.
We decided to call things there rather than rolling for a turn seven, the outcome being obvious. With two objectives to one, a German victory was declared.
Aftermath
This game was Matthew and my closest yet. Until turn four the entire battle was on a knife’s edge. Matthew had some rough luck throughout, particularly with his commandos and Sheila seemingly being armed with blanks. Then there was the endless stream of German dice that seemed to start each turn. Still, we thoroughly enjoyed ourselves.
My triple 2 was hands down my MVP. Taking out the two howitzer crew turn one neutered the Australian gun. The little armoured car that could then took out Matthew’s sniper team, finished off his commandos, and lucked out against Sheila.
Matthew’s commandos were his best performing unit, but we both agreed they needed more support. We both recognised cutting a team weapon or two and taking another infantry squad would have set Matthew up well.
We’re both looking forward to our next encounter, and I’m sure the Australians will be keen to even the score.
Final Thoughts
Another great game and doubly pleasing because we made use of my new setup. Also made me really want to get a Deutsch Afrika Korp force together for Bolt Action. Another thing to add to the list.
Until next time.