Matthew was around the other day to showcase Victory at Sea to me.
The Fleets
Both fleets were 1,000pts in strength,, mostly from Warlord’s Battle for the Pacific starter set. I took command of the Imperial Japanese Navy, while Matthew took command of the United States Navy.
The IJN force comprised:
- Two Mogami class heavy cruisers;
- One Furutaka class cruiser;
- Three Kabuki class destroyers.
The US force comprised
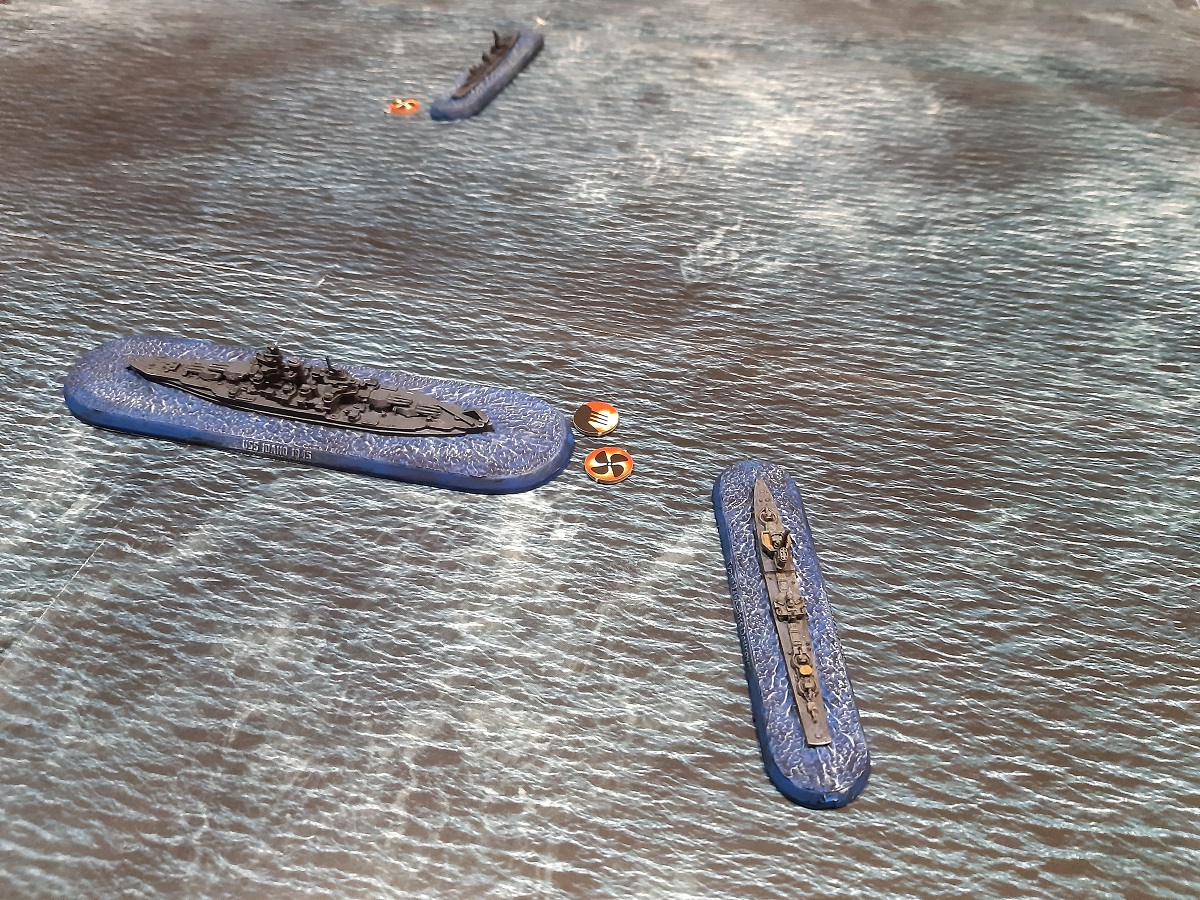
- USS Idaho (battleship)
- USS Indianapolis (heavy cruiser)
- USS Chicago (cruiser)
- Five Fletcher class destroyers.
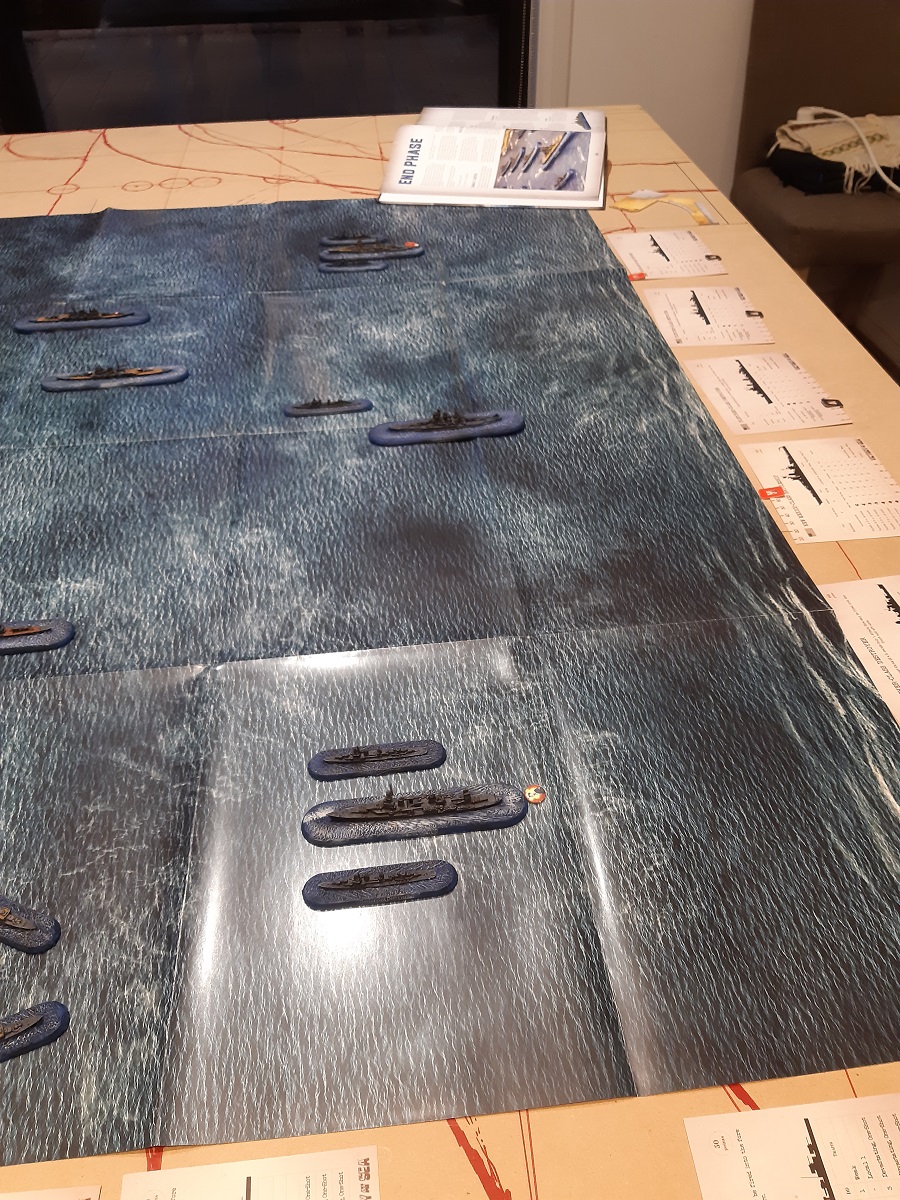
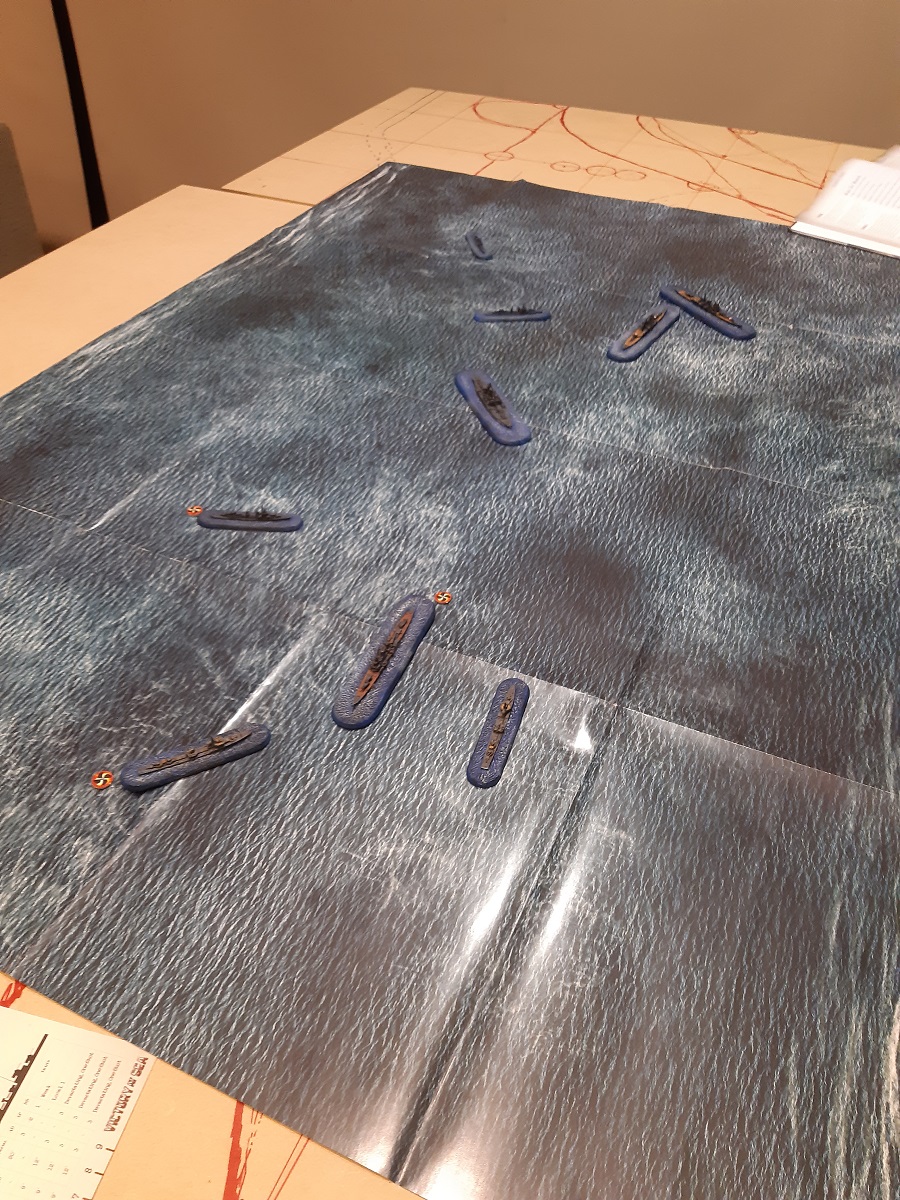
Order of Battle
I deployed my Mogami cruisers on my left flank, a Kabuki and Furutaka on my right, and finally the other two Kabuki destroyers on my far right. From my perspective, Matthew positioned two Fletcher class destroyers on the far left, then the USS Indianapolis to the right of them. In the centre were placed a Fletcher and the USS Idaho. Finally, the remaining Fletchers and USS Chicago occupied the right flank.

I secured initiative for the first turn and with that our ships began to make their way toward one another. Matthew’s advance was mostly cautious, while I advanced most of my fleet forward at full throttle. With the exception of my right most Mogami, all of my ships moved up 7 inches (thanks to their Agile trait). My destroyers on the right also did some weaving to push themselves right to the edge of the area of operation.
My Furutaka opened the shooting with a few hits on the USS Chicago, including a crew critical. The Chicago returned fire, scoring equal damage (but no crits) on the Furutaka, and mauling my middle Kabuki.
My middle Mogami then failed to inflict any damage on the USS Idaho and destroyer opposite, with the Idaho then promptly blowing my inner-most Kabuki out of the water. I went punch for punch though when my outer Mogami gave the USS Indianapolis a devastating salvo. I netted a critical hit on the ship’s engines, inflicting 11 points of damage on its hull and rendering it unable to undertake damage control for the rest of the battle.
The remainder of the first turn’s shooting involved light guns from the various Fletchers and remaining Kabuki class destroyers that chipped away at the hull of various ships here and there.
Turn two and I again took initiative. I pushed the two bodies of my fleet further apart to avoid the Idaho. My Mogami cruisers turned in to punish the Indianapolis, while my Furutaka and Kabuki destroyers manoeuvred to get up close and personal with the Chicago. In both instances I endeavoured to catch the vessels in my broadside while avoiding their own. I wasn’t successful, but I did set up large silhouette shots on them.
My left most Mogami opened the shooting and I opted to unleash all my torpedos at point blank range on the Indianapolis. This decision turned out to be overkill in the extreme as the majority of my torpedos hit and dealt enough damage to near enough sink the vessel twice over from full. I then proceeded to sink the nearest US destroyer and put the tiniest scratch on the Idaho.
In retaliation the Idaho opened up on my other Mogami, mauling it most pitifully. The ship was taken down to a critically damaged level and lost operation of its rear turrets.
Meanwhile on the right the Furutaka opened up on the Chicago, sending it to the bottom. Furthermore, one of my destroyers would later sink a Fletcher. In reply the various American destroyers were ineffectual, the most notable demonstration of which was the torpedo strike on my stricken Mogami that failed to do any damage.

Turn three and the surviving American destroyers all powered ahead and turned themselves around. I brought my barely scratched Mogami around to take on the Idaho while the damaged one slowly made its way around. Meanwhile on the right, my ships positioned to deal with the remaining Fletcher there.
Gunnery was less exciting this time round. The Idaho mauled my healthy Mogami,. Otherwise a combination of the light armaments and speed of American manoeuvres kept damaged low on both sides. The weight of damage was piling up however, and it was perhaps at this point my Furutaka slipped below the critically damaged threshold. It lost all its main guns and Agile trait as a result.
Turn four and half my ships were limping around, though Matthew’s ships weren’t much better. Both my Mogami cruisers moved side by side toward the Idaho, preparing to unleash reloaded torpedos. Matthew hastened to bring his own torpedos to bear on my cruisers, while the right saw my healthy Kabuki sweeping around my paddling Furutaka and other Kabuki.
Thanks to holding the initiative I was able to unleash a devastating torpedo salvo on the Idaho from my more operational Mogami. In reply the Idaho ruined that ship’s day, but failed to sink it. I then proceeded to sink another Fletcher, while in response the American destroyers whittled away at my forces. By now I my Mogam cruisers were on 3 and 6 hull, my Furutaka 3 hull, and my damaged Kabuki was on 1 or 2.

Turn five and the Idaho continued a wide sweep to my left while my healthy Kabuki sped toward it. With all my cruisers being heavily damaged they could do nothing but paddle as best they could toward it.
With the initiative I was able to get the ever important one point of damage to shift the Idaho into being critically damaged. All of its turrets were knocked out save the B turret as a result, but there was still no stopping the Idaho sinking one of the Mogami cruisers in the shooting phase, though in response I sunk another Fletcher.
Turn six and things continued to limp around. By now the Idaho was well on the left, nearer to my deployment zone than Matthew’s. My healthy Kabuki was hot on its tail, my Furutaka slowly making its way from right to left near the centre line, and my last Mogami turned around to face the Idaho’s starboard side.
A last hurrah of torpedos put the Idaho down to 16 hull before it sunk the culprit (my final Mogami). After this last bit of action, things petered out.
In the turns that followed, my little Kabuki that could turned into the Kabuki that couldn’t, failing to land its payload and being sunk for the trouble of trying. From there it was clear my last two ships, so heavily damaged as they were and facing the Idaho’s superior armament could not hope to carry the day. And so there things concluded.
Aftermath
And so the US navy carried the day, the Idaho proving too tough a nut to crack.
Had any of my final payload been delivered things may well be different. As it was, I was quite proud of my clever manoeuvre to set the shot up. Rather than continuing in a line that would have put my Kabuki parallel to the Idaho and into its one functional turret, I swung my destroyed around to create a T at the back of the American vessel. This took the main armament out of play while giving my torpedos a shot on the less armoured portion of the ship.
For Matthew’s part, he was on the receiving end of a devastating first couple of turns of shooting that scuttled his cruisers good and proper. Furthermore, he suffered from fire being spread thin, leaving my ships crippled but not sunk. Some poor turns of shooting for him mid-game didn’t help things, with shots that surely should’ve sunk the Mogami cruisers only leaving them afloat with the barest structural integrity.
Final Thoughts
All in all, Victory at Sea was pretty decent. Was everything one expects from a system published by Warlord Games: simple, straightforward rules that are quick to pick up. I may very well get a Royal Navy fleet together at some point.
For now however I’m looking forward to Friday when I’ll be taking on Andrew’s Hungarians again. There’s also the promised Warhammer fantasy Battles game to come, though that’s likely to be pushed back to next weekend. Finally, I’m waiting for an order of movement trays to arrive so I can put the final touches on the unit I’ve been working on the past month. So there’s plenty to look out for.
